
The Nail Trend Hailey Bieber Just Made Cool Again
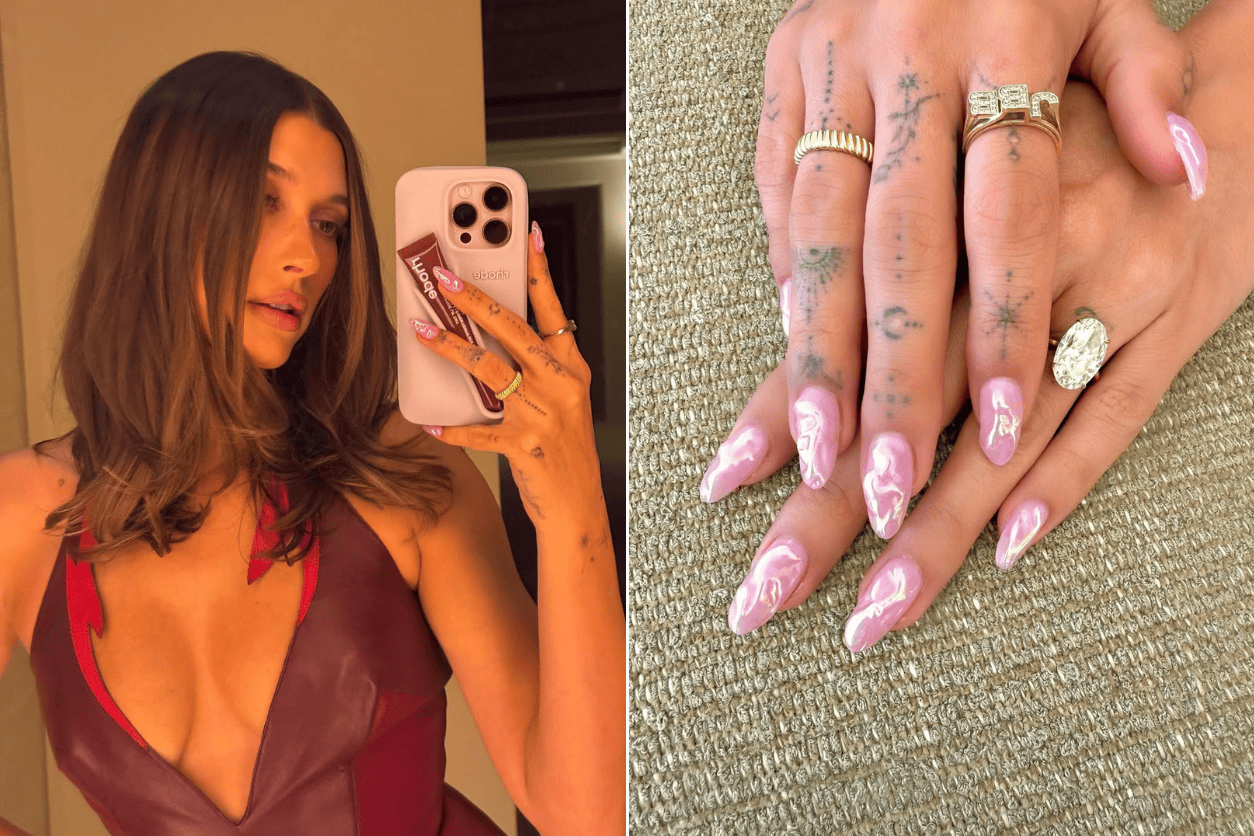
Somewhere between the overpriced water bottles, the sea of black sunglasses, and the endless parade of Y2K-core outfits that have overstayed their welcome, something genuinely new managed to steal the conversation at Coachella weekend one: Hailey Bieber’s lava nails. And for anyone who’s been tracking spring’s more experimental beauty cues in between shoe trends and bag revivals, this was the first time in months that her nails weren’t just pretty. They were deliberate.
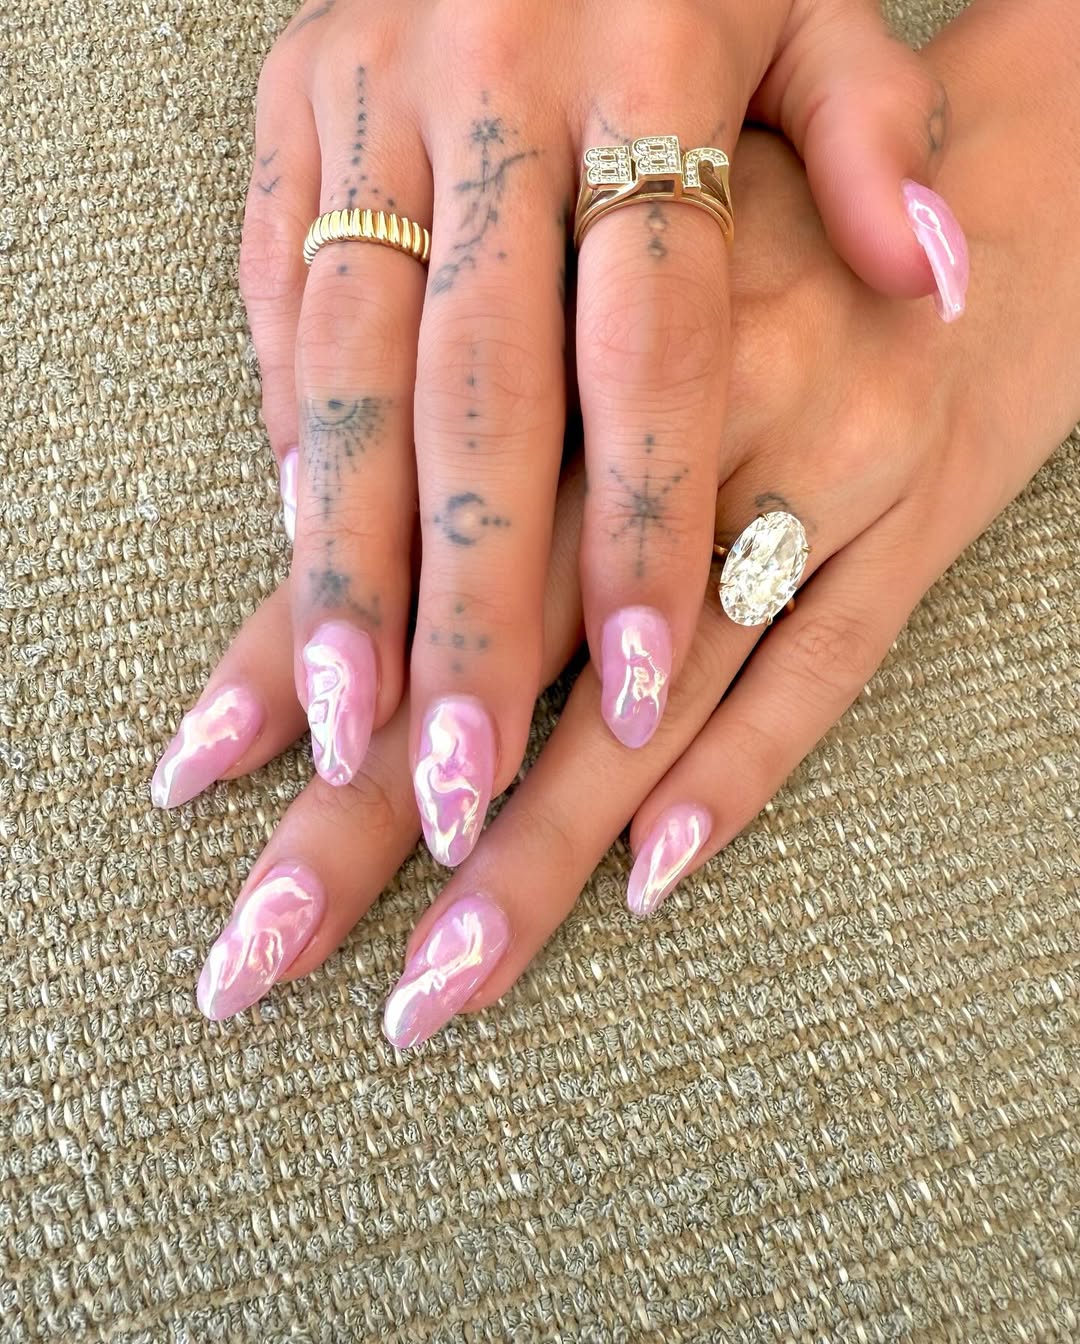
It was the kind of detail easy to miss if you weren’t paying attention. But anyone who zoomed in on the close-ups posted by Britney Tokyo—Bieber’s longtime nail artist—knows the difference between a chrome manicure and this: a textured, sculpted surface that caught the light like actual liquid metal.
Why This Isn’t Just Another Pink Chrome Moment
Yes, pink chrome is everywhere. It’s the default now, the fallback for anyone looking to break up the beige while staying inside the clean girl rulebook. But this look sidestepped all of that. It wasn’t shimmery or dainty or subtle. It was sharp and dimensional. Tokyo built a raised lava effect using high-viscosity 3D sculpting gel and laid it down in irregular, almost organic ribbons that twisted across each nail.
Let’s not forget who we’re talking about. This is the woman who launched a thousand chrome-dipped fingertips with a single TikTok close-up. Bieber’s usual nail aesthetic is restrained, almost polite—barely-there neutrals with one glossy trick layered over top. Those looks are still influential, sure, but they’re also easy to replicate. You don’t need a seasoned nail tech to swipe on a whisper of pearly top coat.
But lava nails aren’t something you improvise with a couple coats of pink polish and hope for the best. There’s architecture here. It asks for prep, sculpting gel, patience. It’s not for someone who wants to be in and out of the salon in under an hour, and it definitely doesn’t lean minimal. And that’s part of what made this shift feel worth talking about.

How to Recreate Hailey’s Lava Nails
If you’ve never done a 3D chrome nail before, know this: the base matters just as much as the raised design. According to nail artist Dew from Dew Does Nails, the key to a long-lasting foundation is that clear builder layer.
Float it carefully over the rubber base to give structure without bulk, then flash-cure and buff. Bieber’s nails were medium length and almond-shaped—soft-gel tips were adhered from cuticle to free edge, pressed slowly to avoid bubbles, then blended at the perimeter. All of this is quiet work, invisible in the final photo but essential if you want the kind of staying power needed to outlast a desert weekend.
The Strawberry Milk Layer
The color underneath might seem like an afterthought, but it’s doing a lot of heavy lifting here. Two sheer coats of milky pink—somewhere between bubblegum and rosewater—create that strawberry milk effect, glowy and translucent without looking too precious. Each layer is cured for 30 seconds, and the second seals off the free edge.
Now, instead of a traditional glossy top coat, a matte layer is applied before the chrome. It sounds counterintuitive, but it’s not. The satin finish grips onto the chrome pigment better, preventing it from sliding off the smooth surface. It also sharpens the contrast once the raised lava ridges are added.
Sculpting the Lava
Now, using a silicone tool, the sculpting gel is trailed across the nail in uneven, imperfect strokes—like actual liquid dripping mid-pour. The point is for it to look accidental, not diagrammed. Every pair of nails is flash-cured before moving on to the next to keep the design from sagging, and then the full hand gets a final 60-second cure to set everything in place.
At this stage, the nails still look unfinished—raised, yes, but dull and opaque. It’s not until the chrome powder is burnished over the ridges that the full effect clicks into place.
Burnish, Seal, Repeat
Only the raised gel gets the chrome. The matte base stays untouched, which is what makes the reflective parts pop even more. You burnish the powder into the ridges until they shift from powdery to glassy—think of it like polishing silver until the tarnish gives way. Any excess is brushed away, and then it’s time to top coat.
Not just any top coat, either. A non-wipe gloss is decanted onto a palette, picked up with a detail brush, and floated over the chrome first (to keep it from dulling), then swept over the rest of the nail, wrapping every edge before one last cure.
Elevating the Shopping Game
Our platform offers in-depth reviews and analyses across various product categories, empowering you to shop with confidence and precision. Here, transparency and detailed research pave the way for smart choices that reflect your needs and values. Join our community and elevate your shopping experience from buyer to expert, one report at a time.