
I’ve never been the type to religiously keep up with my nails. A salon gel manicure feels like a luxury I can’t justify every few weeks. And the at-home alternative—traditional polish—always ends up a streaky, smudged disaster. The drying time, the chipping, the inevitable frustration of ruining one hand while painting the other—it’s just not worth the hassle. Nail professionals have been weighing in on this trend, including Suzie, a nail technician and instructor with over 35 years of experience. So when semi cured gel nail strips started trending, promising salon-quality results with a fraction of the effort, I had to see for myself.
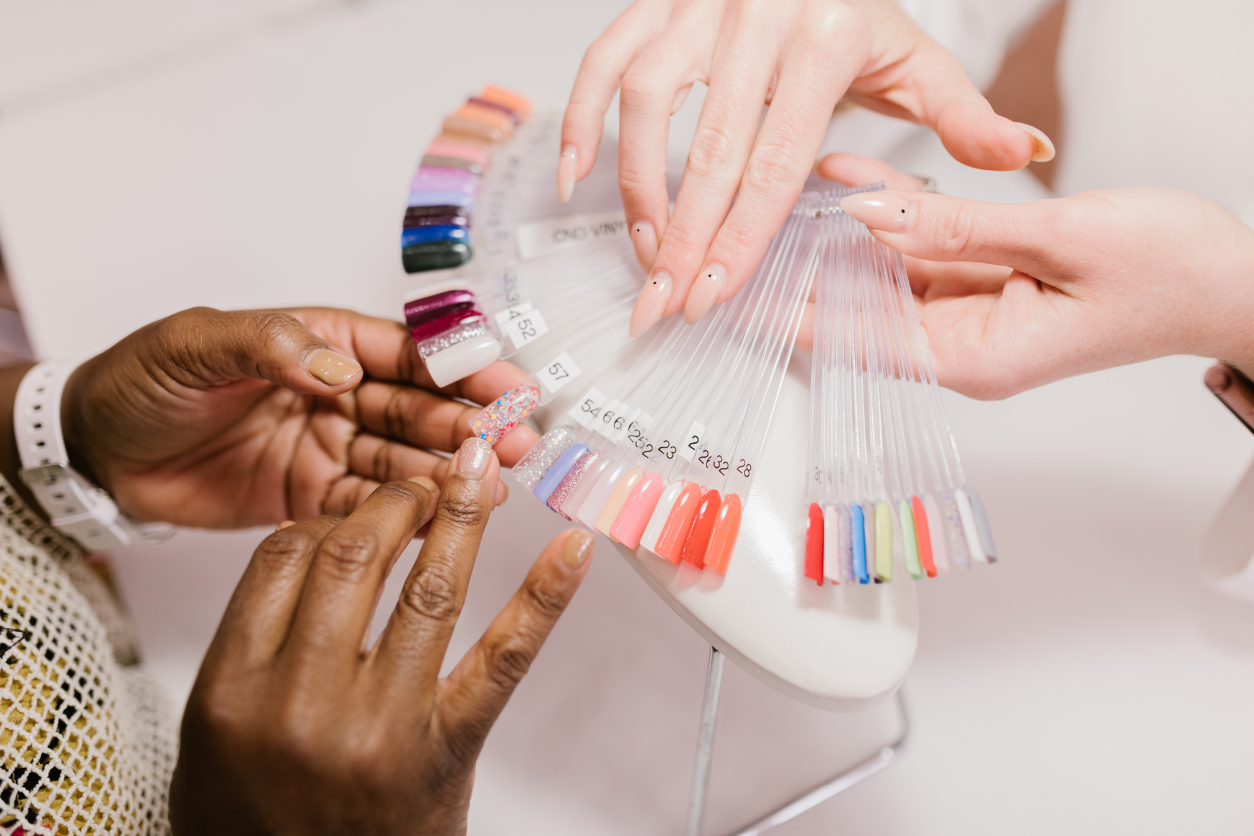
What Exactly Are Semi Cured Gel Nail Strips?
Unlike traditional polish or even basic nail stickers, semi cured gel strips are made of real gel polish that’s only been partially cured, meaning they’re flexible when applied but harden under an LED lamp. This process gives them the same durability as a salon gel manicure—without the chipping, smudging, or tedious soak-off removal.
Suzie noted that one of the biggest advantages of semi cured gel is how forgiving it is compared to liquid polish. “If you don’t like painting your own nails or struggle with nail art, these can be a great option because the design is already done for you,” she explained. And while they still require some prep work, they eliminate the mess and unpredictability of a DIY gel manicure.
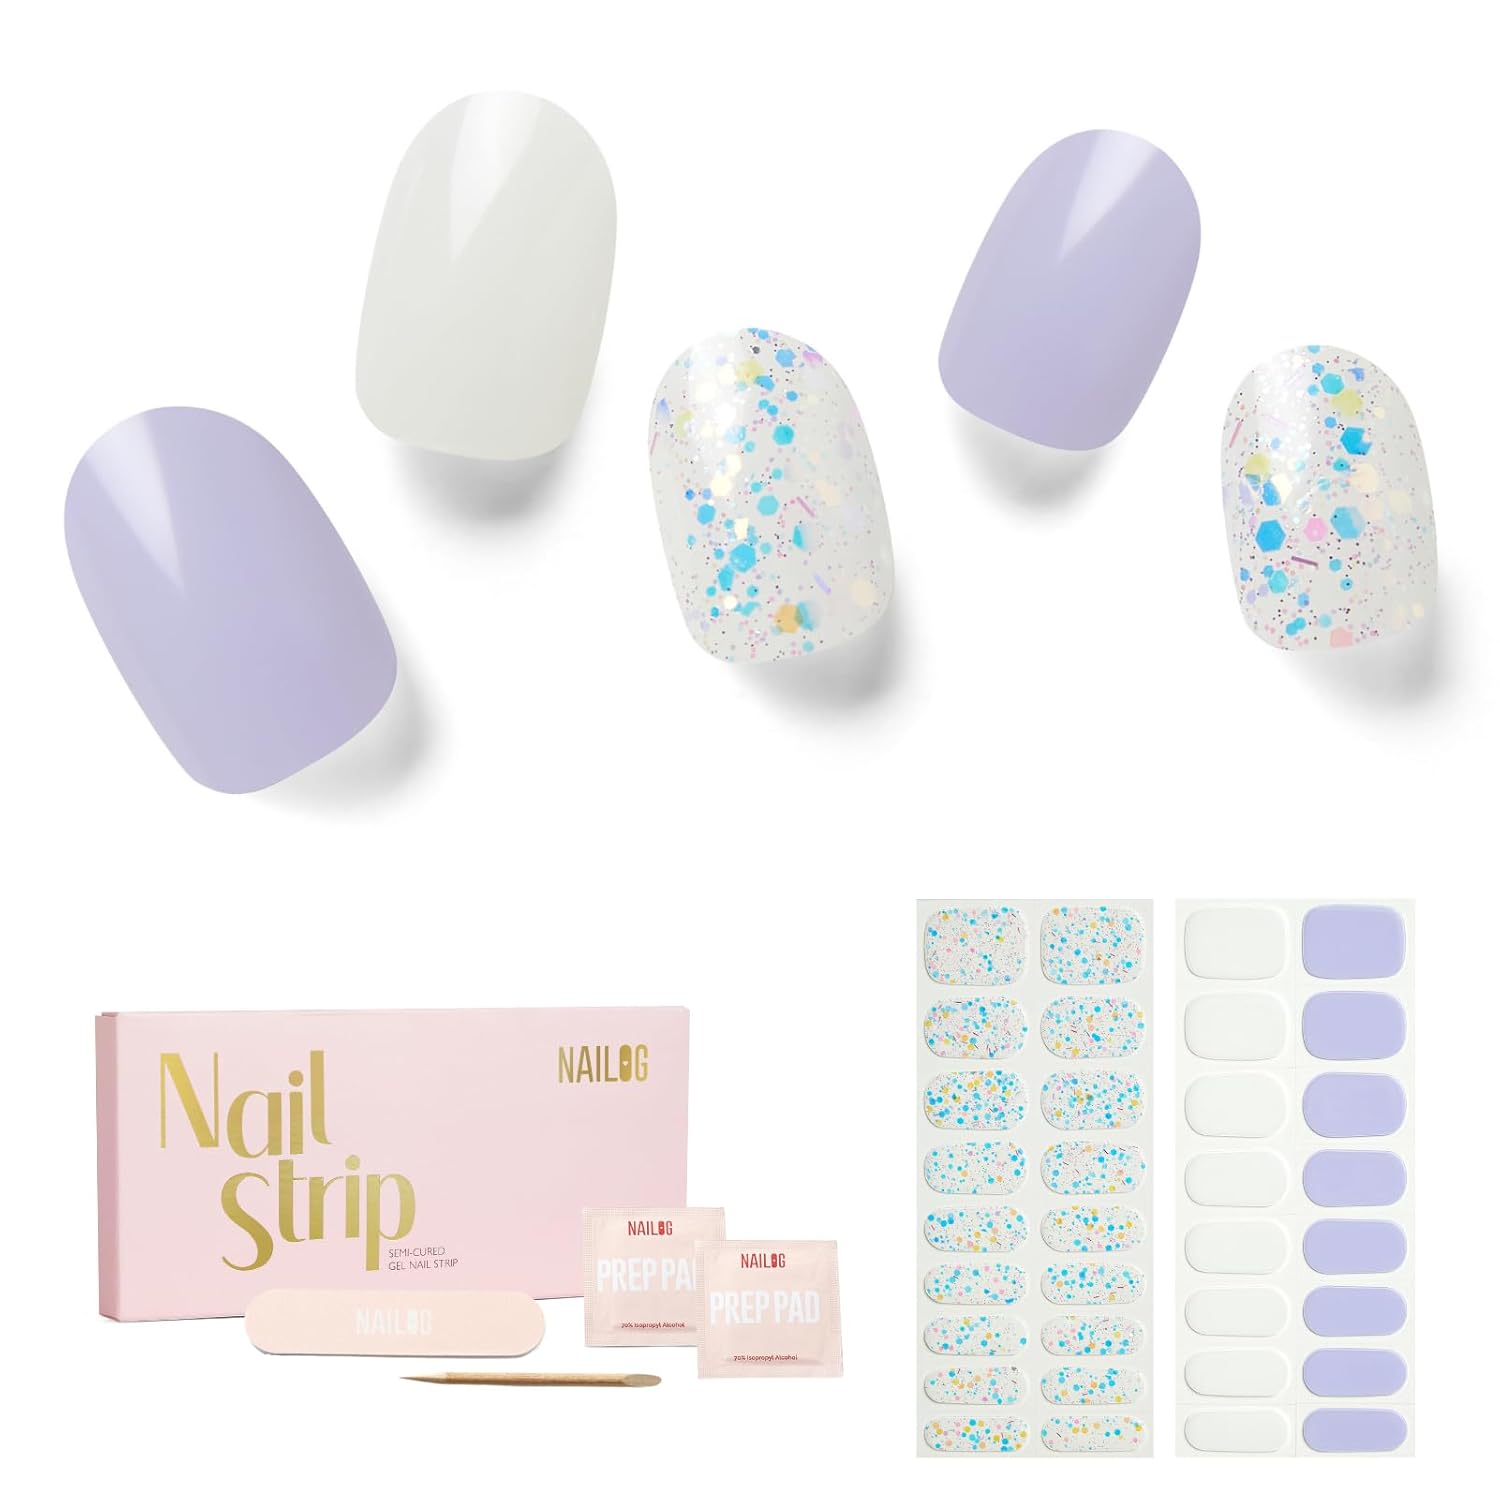
Most kits include a set of gel strips, a mini LED lamp, a nail file, a wooden cuticle stick, and prep pads to clean your nails before application. The goal is a long-lasting, ultra-glossy manicure that lasts for weeks, without a salon visit.
What’s Inside the Kit?
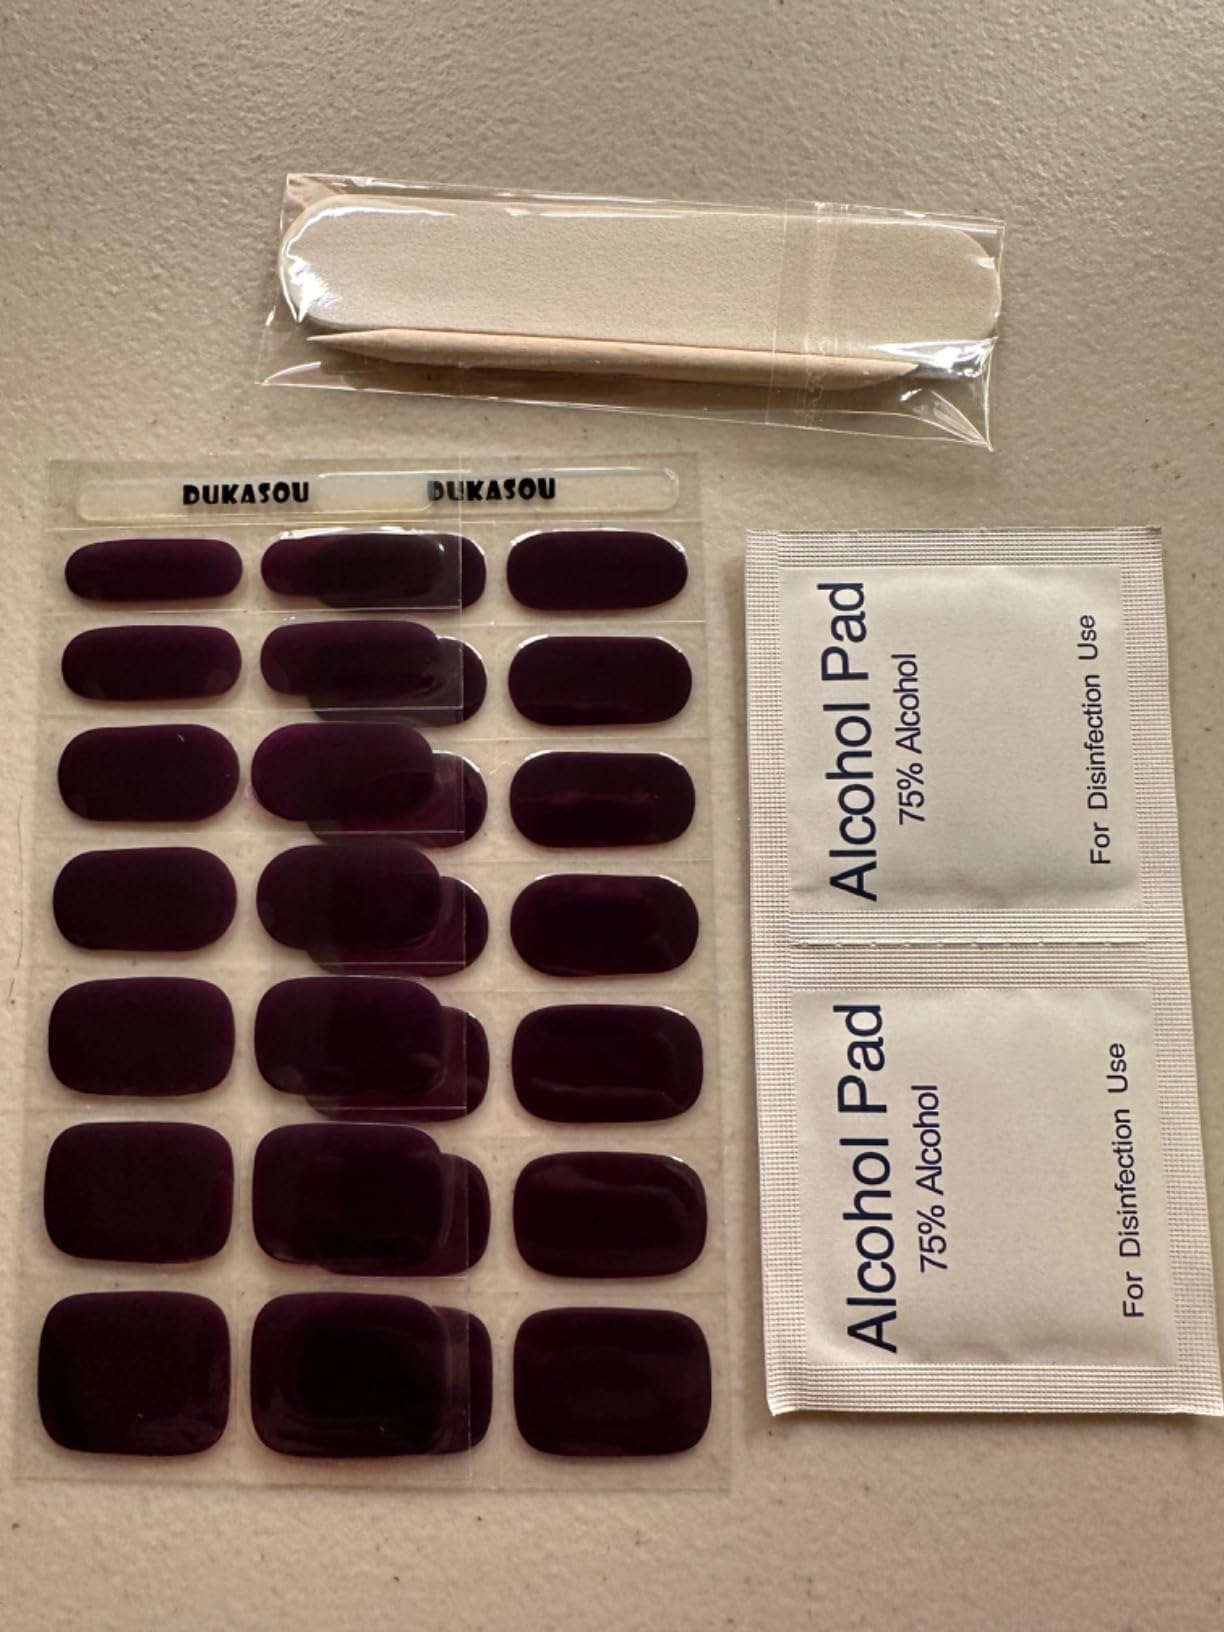
The kit I tested came with 34 semi cured gel nail strips in different sizes, a wooden cuticle stick, and an alcohol prep pad.
One thing Suzie immediately pointed out when testing a similar product was the packaging. The gel strips came sealed inside a foil pouch, and there’s a reason for that. “These have to be protected from light because they’re partially cured,” she said. “If they’re exposed to sunlight or even indoor lighting for too long, they can harden before you even get to use them.”
This made me realize why some people struggle with adhesion issues. If the strips have already started curing before they go on your nails, they won’t mold as well to the nail bed.
The Application Process
I assumed I could just peel these off and stick them on like regular nail stickers. I was very wrong.
The first step is nail prep, and Suzie emphasized how crucial this is. “Your nails need to be completely dry and free of oils, or the strips won’t stick properly,” she said. I grabbed the alcohol prep pad, wiped my nails down, and pushed my cuticles back to get a smooth, even surface.
Then came sizing the strips. Suzie pointed out that choosing a strip that’s too big can cause lifting and peeling at the edges. “It’s better to go slightly smaller than to have the strip touching your skin or cuticle,” she advised. I tested a few sizes and finally found the best fit.
Applying the strip itself was easier than expected. It felt thick and sturdy, more like a real gel layer than a flimsy sticker. But trimming the excess was a challenge. The instructions said to use nail clippers or scissors, but because my nails are on the shorter side, I ended up with way more excess strip than expected. And it kept getting caught in the clippers!
Suzie had a trick for this: “Instead of clipping it immediately, try folding the excess over the edge of your nail and curing it first. Once it’s hardened, you can file it down more smoothly without fraying the edges.” This saved me so much frustration. Once I followed her advice, the free edge looked clean and professionally shaped.
Curing
Once the strips were placed and trimmed, it was time to cure them under the LED lamp. The lamp that came with the kit had a 45-second timer. But I followed Suzie’s lead and did a full 60 seconds to make sure the gel was fully hardened.
After curing, the texture of the strips completely transformed. Before, they felt soft and pliable; now, they were rock-solid and smooth, just like a traditional gel manicure. Even better? There was zero drying time. No smudging, no dents, just perfect, glossy nails.
Suzie explained why this step is so important for longevity: “Curing seals the strip onto the nail, but it also shrinks the gel slightly, so you want to make sure your edges are fully pressed down before putting them under the light.”
The Wear Test
Most semi cured gel nail strips claim to last up to two weeks without chipping.
For the first few days, they looked flawless—still shiny, still smooth, still completely intact. I was careful with them at first, but by day four, I forgot I even had them on. I typed all day, cooked, did dishes, and even peeled off a stubborn price tag with my nails—and they didn’t budge.
Suzie, who tested a similar product, was equally impressed. “I didn’t think they’d hold up as well as they did,” she admitted. “I was moving boxes, working with tools, and expected them to start chipping at the edges—but they stayed intact for over a week.”
By day seven, I started noticing slight wear on the edges, but no peeling or lifting. The growth gap near my cuticles was more noticeable than any actual damage to the strips themselves.
The biggest downside? Hair getting caught at the edges. “Because these are slightly thicker than traditional nail polish, you might feel the edges more when you run your fingers through your hair,” Suzie noted.
Removal Was Surprisingly Easy
Anyone who’s had a salon gel manicure knows the removal process can be a nightmare—soaking in acetone, scraping, and hoping your nails don’t come out wrecked. But with semi cured gel strips, removal was shockingly simple.
Suzie explained that cuticle oil or acetone-free remover can help loosen the edges, making them easy to lift off without damage. “You don’t want to just rip them off dry,” she said. “Use an orange stick and gently slide underneath—if there’s resistance, apply more oil and wait a few minutes.”
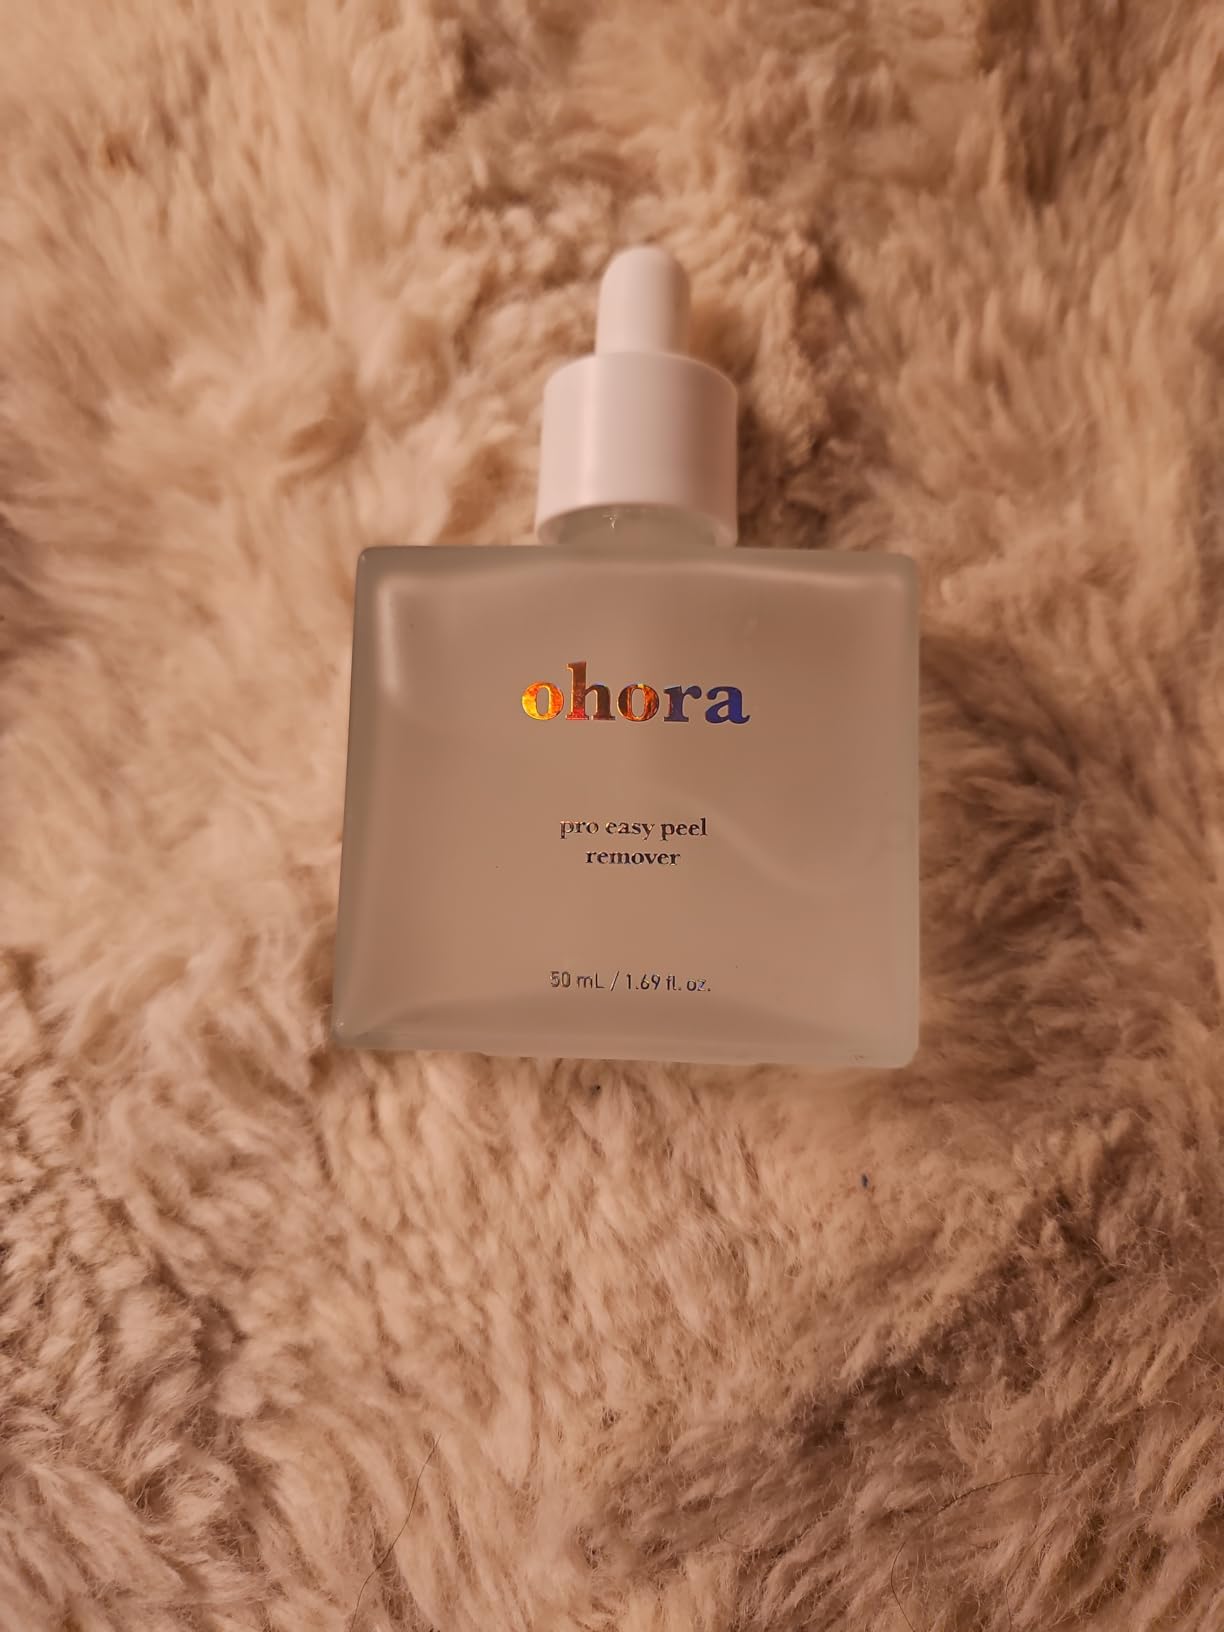
I followed her method, and within minutes, my nails were completely clean—no damage, no peeling, and no annoying residue.
Would I swap salon gel manicures for semi cured gel nail strips permanently? Honestly, yes. They cost less, last just as long, and don’t destroy my nails. The biggest learning curve is sizing them correctly and making sure they’re fully pressed down before curing. But once you master that, they’re practically foolproof.