
How To Do a Russian Manicure at Home
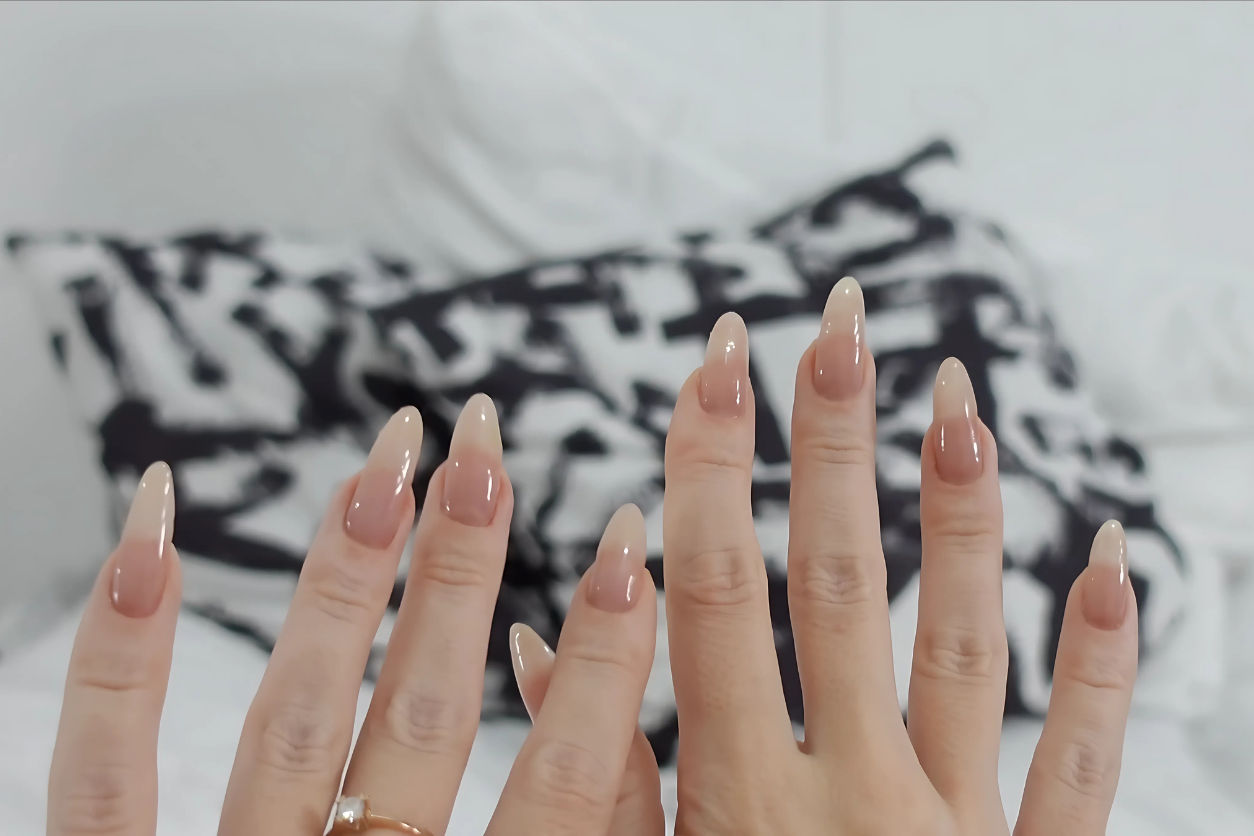
Doing a Russian manicure at home might feel like an ambitious project, but it’s achievable with patience and the right tools. This meticulous technique is known for its flawless, polished look, with precise cuticle care and a clean nail plate as the focal points. While it’s time-intensive, the results are rewarding, especially if you’re aiming for professional-quality nails from the comfort of your home.
What You’ll Need for a Russian Manicure
Before diving in, gather everything you’ll need. Having the right tools and products at hand ensures a smoother process. Here’s a comprehensive list:
- A Clean towel – To keep the area tidy
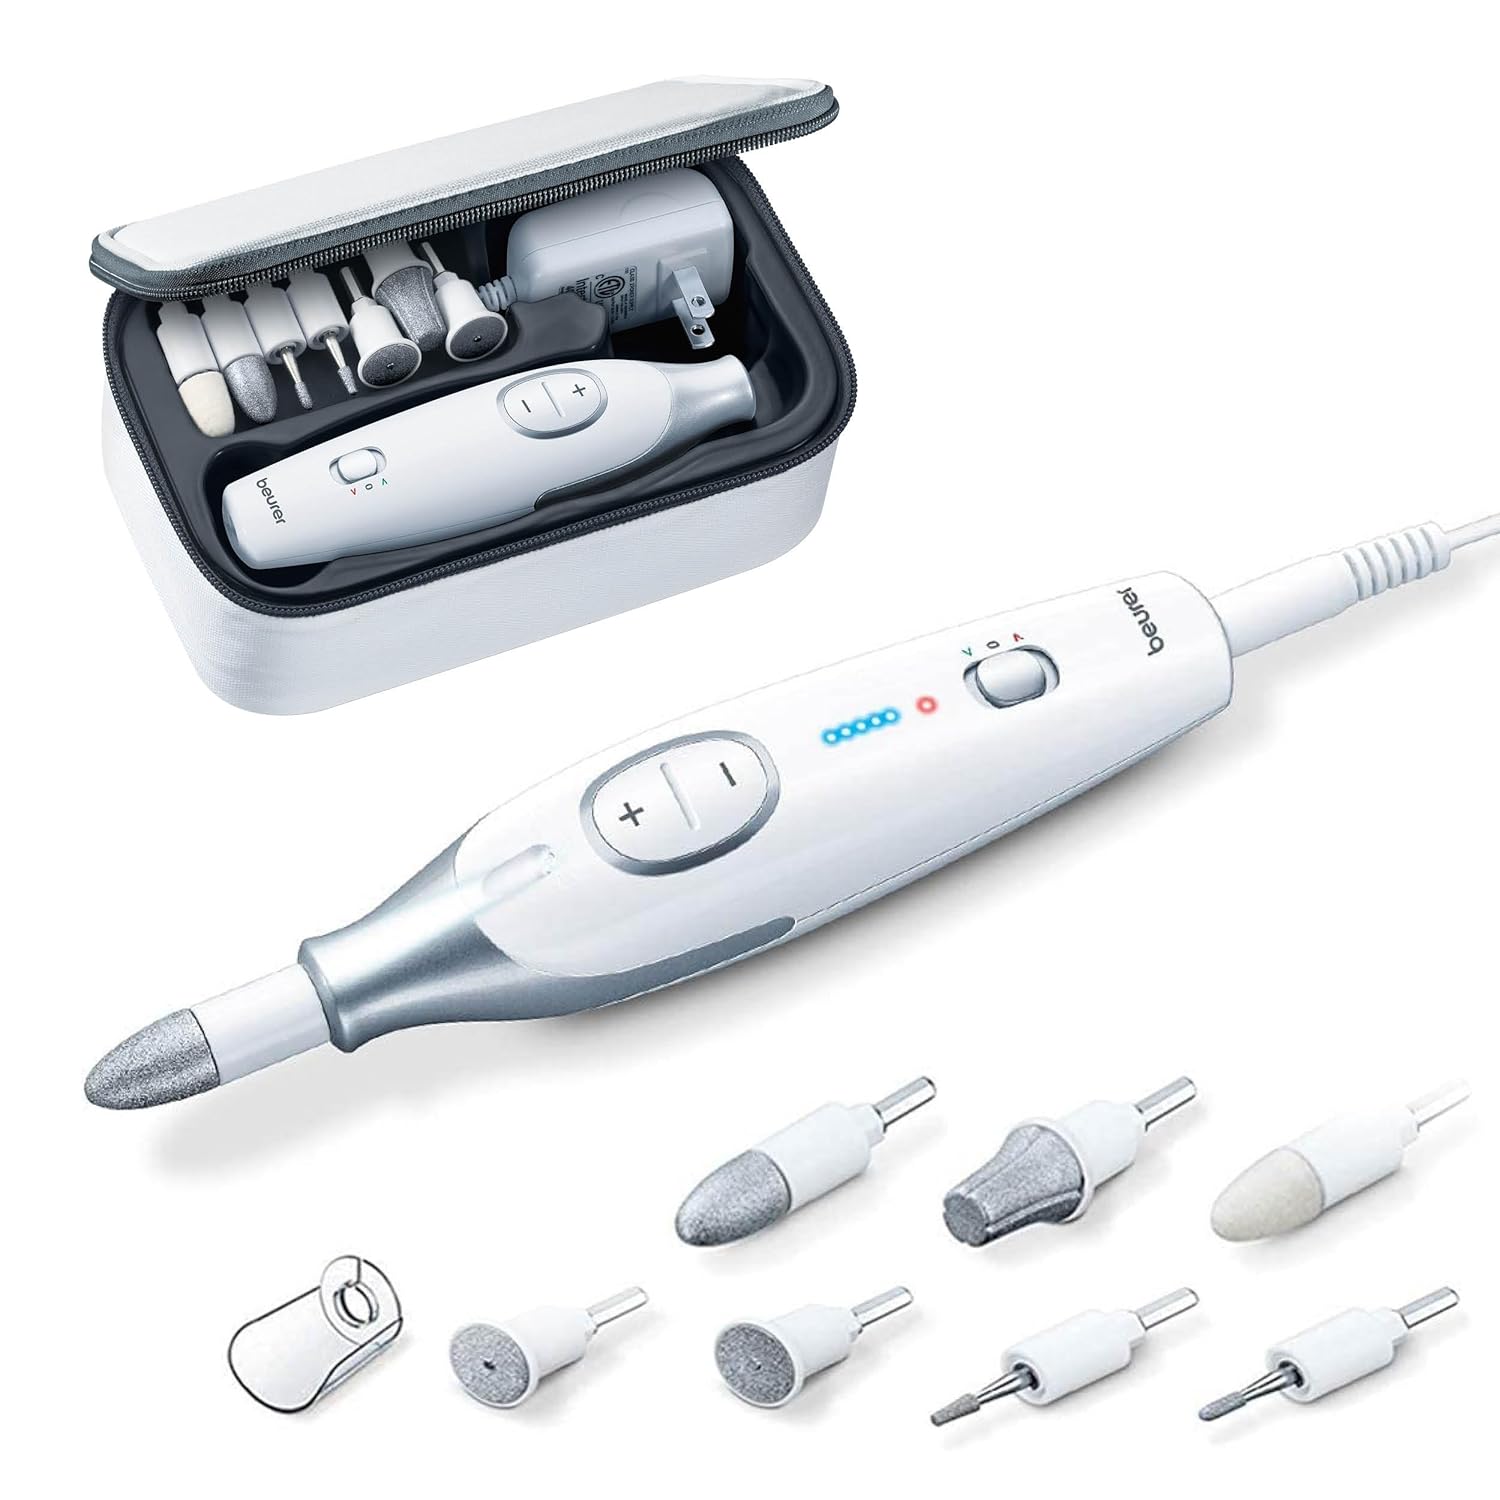
- E-file (electric nail drill) – For cuticle cleaning and shaping
- Nail drill bits – Flame-shaped and ceramic bits (soft red-marked ones are ideal for beginners)
- Orange stick – For gently pushing back the cuticles
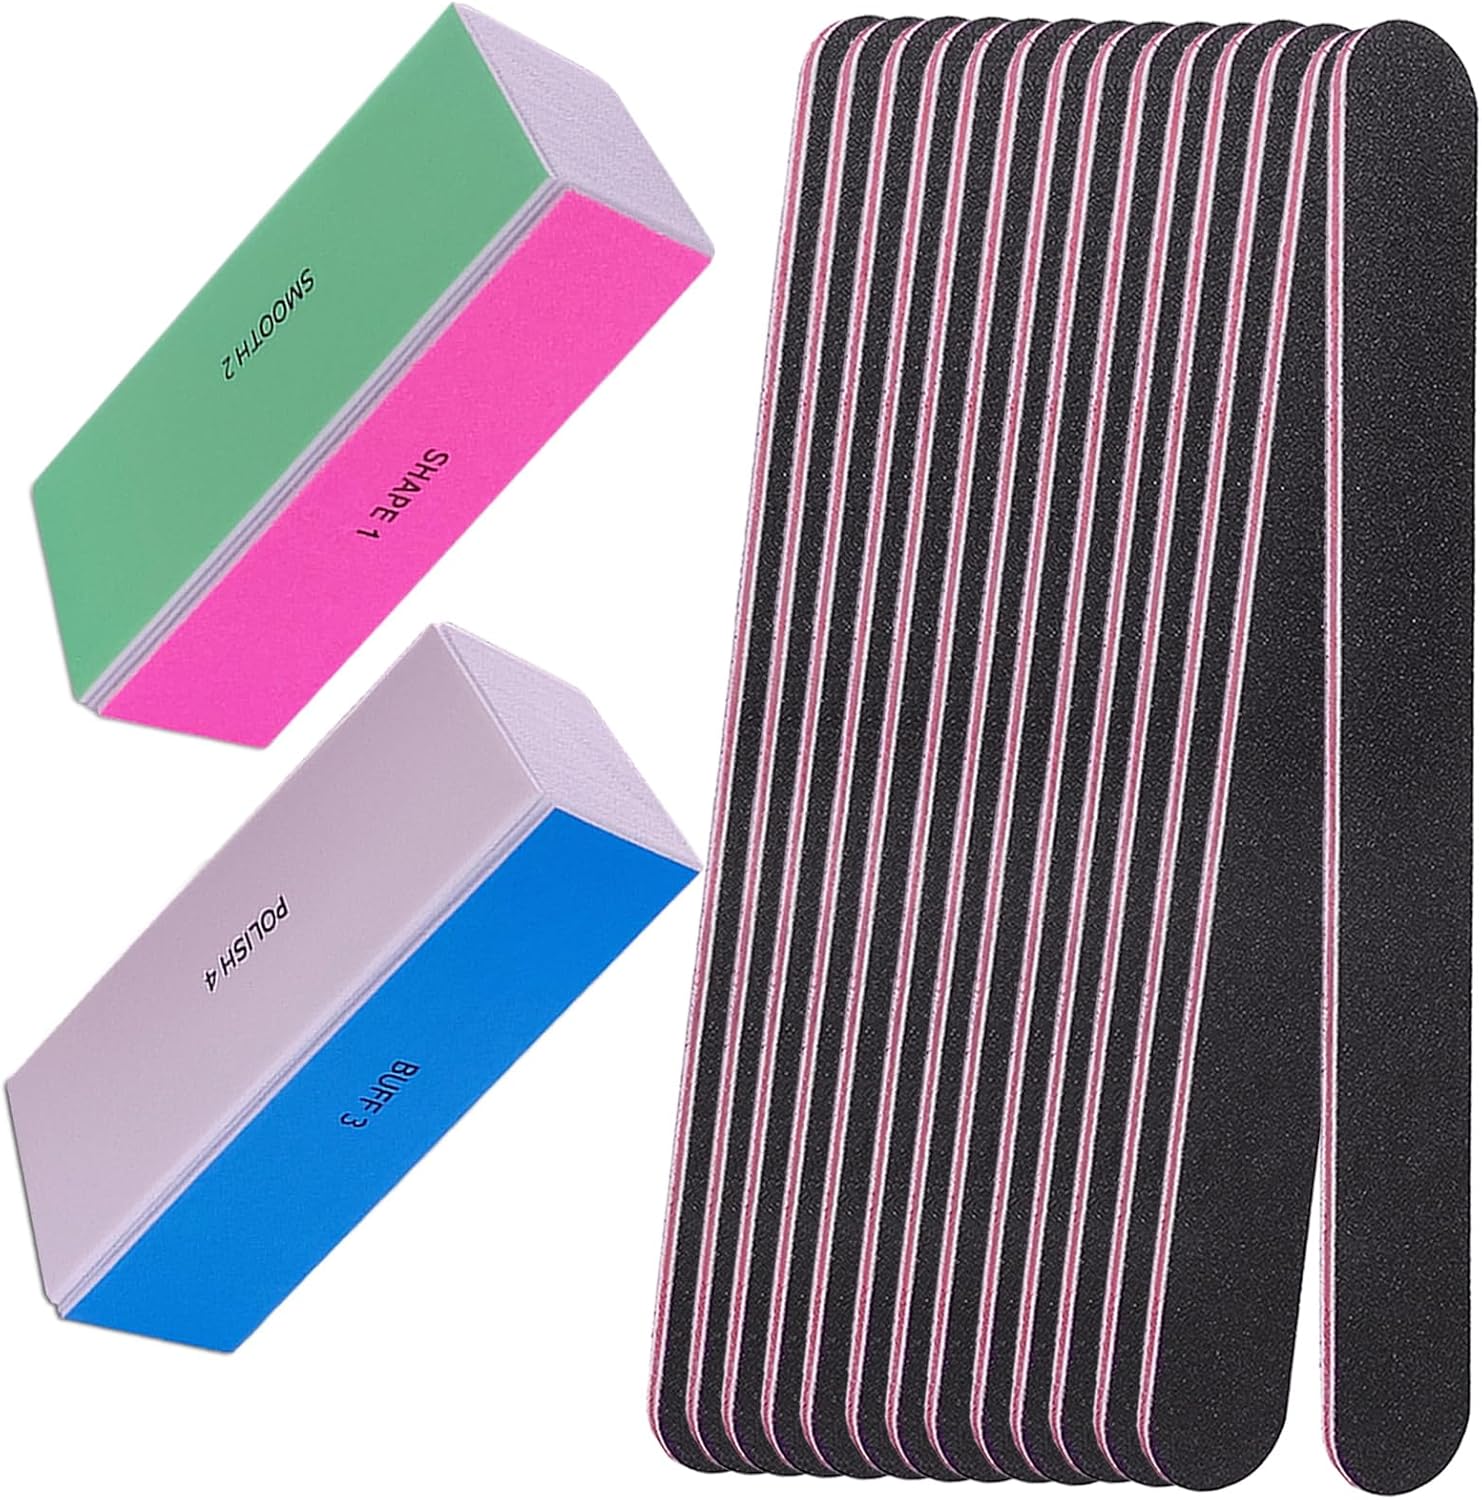
- Nail file (180 grit) – For shaping your natural nails
- Nail buffer – For smoothing the surface
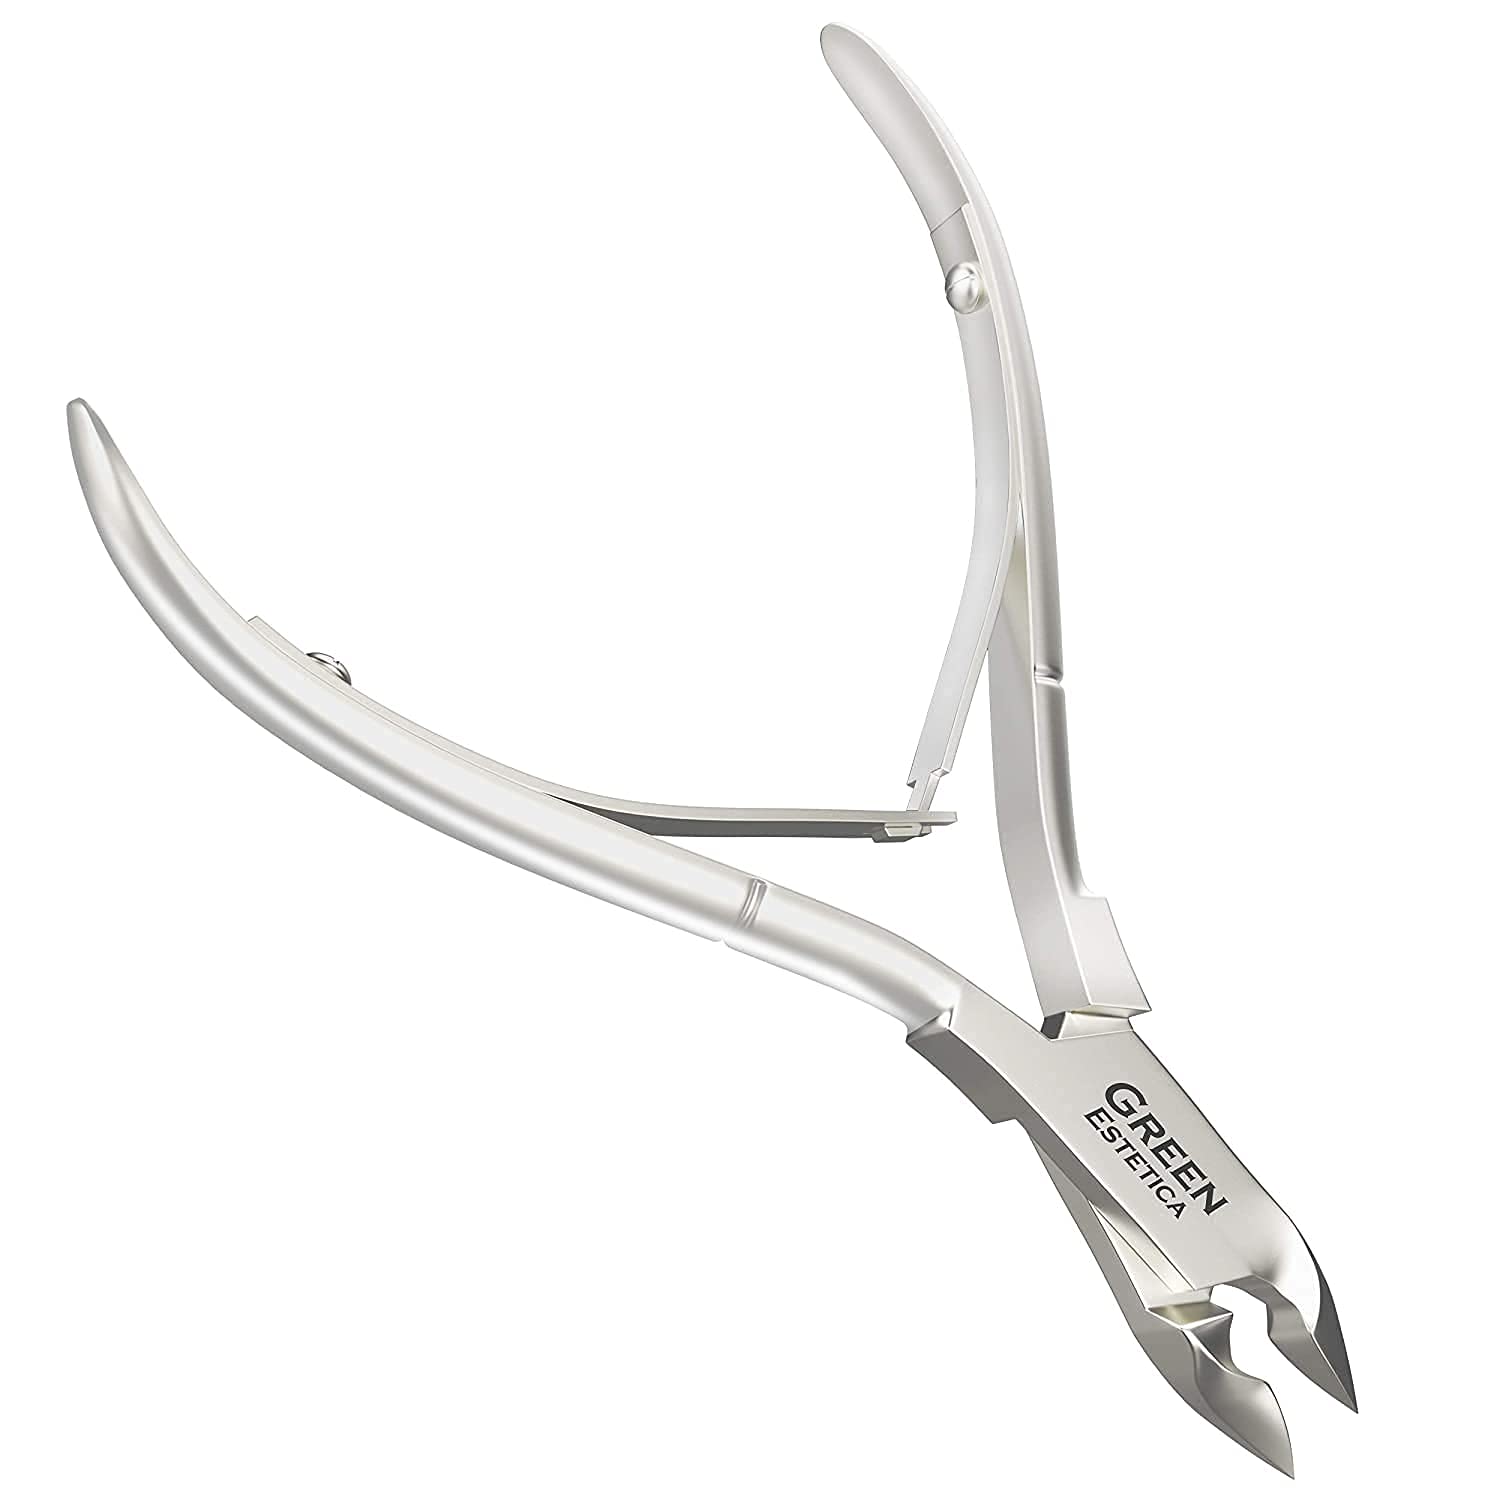
- Cuticle scissors or nippers – For removing excess skin around the nail plate
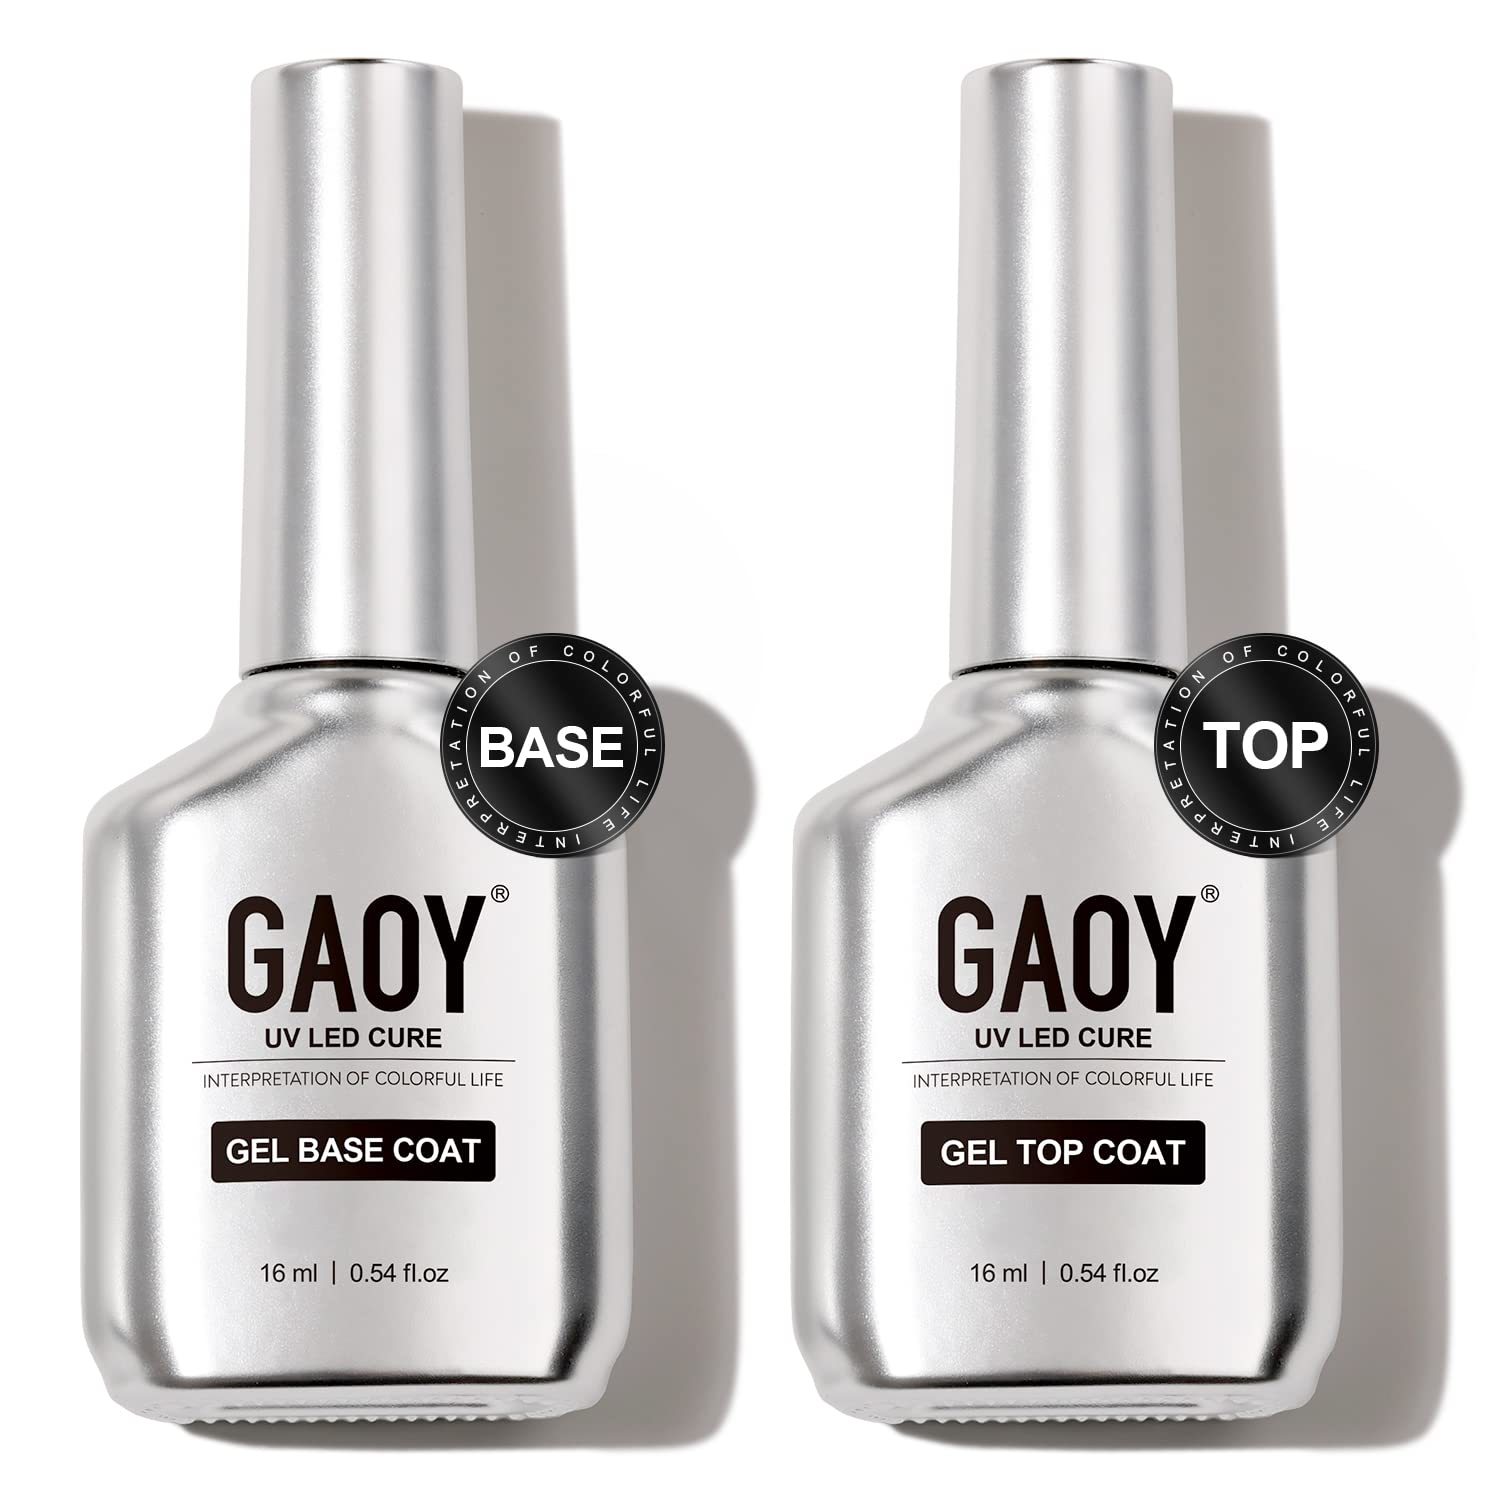
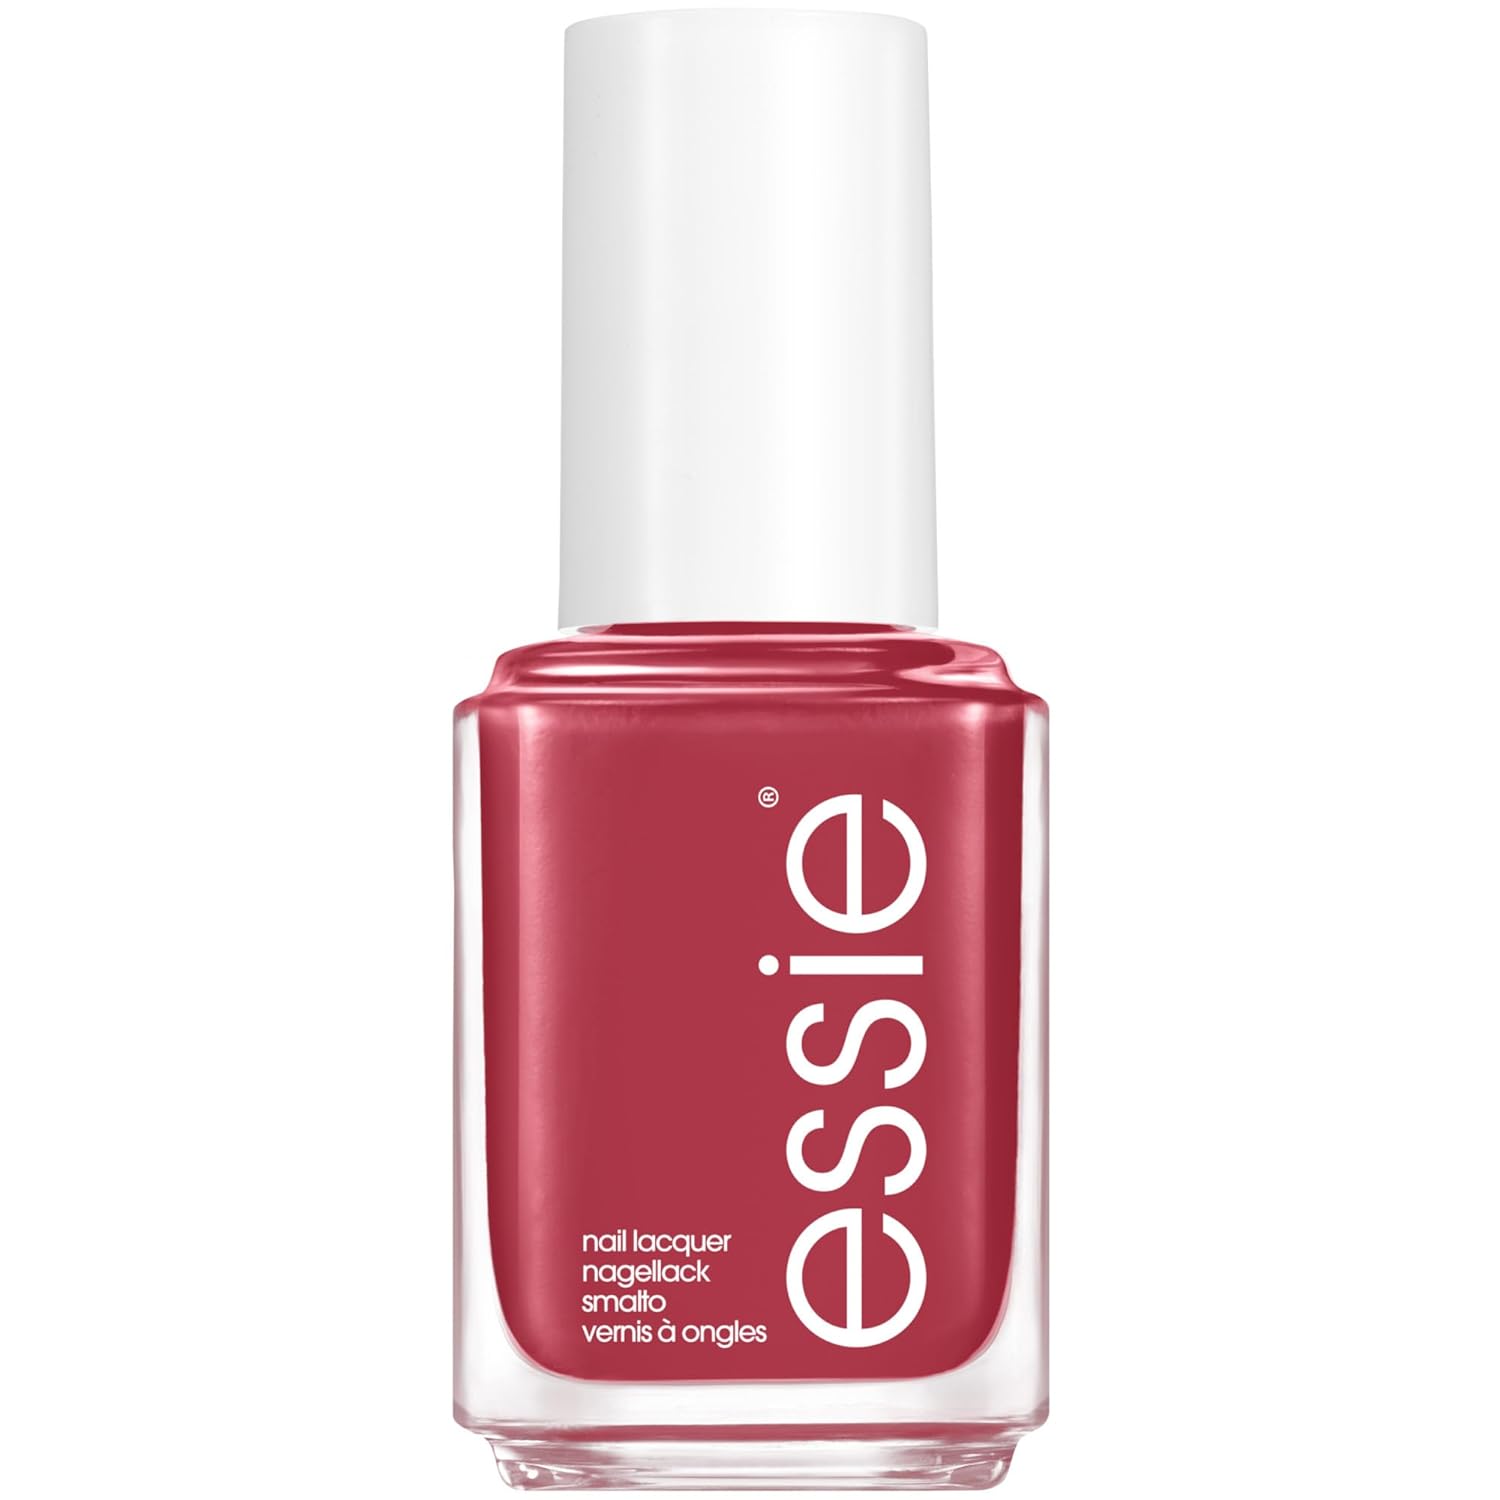
- Base coat, topcoat, and color gel polish – To complete the look
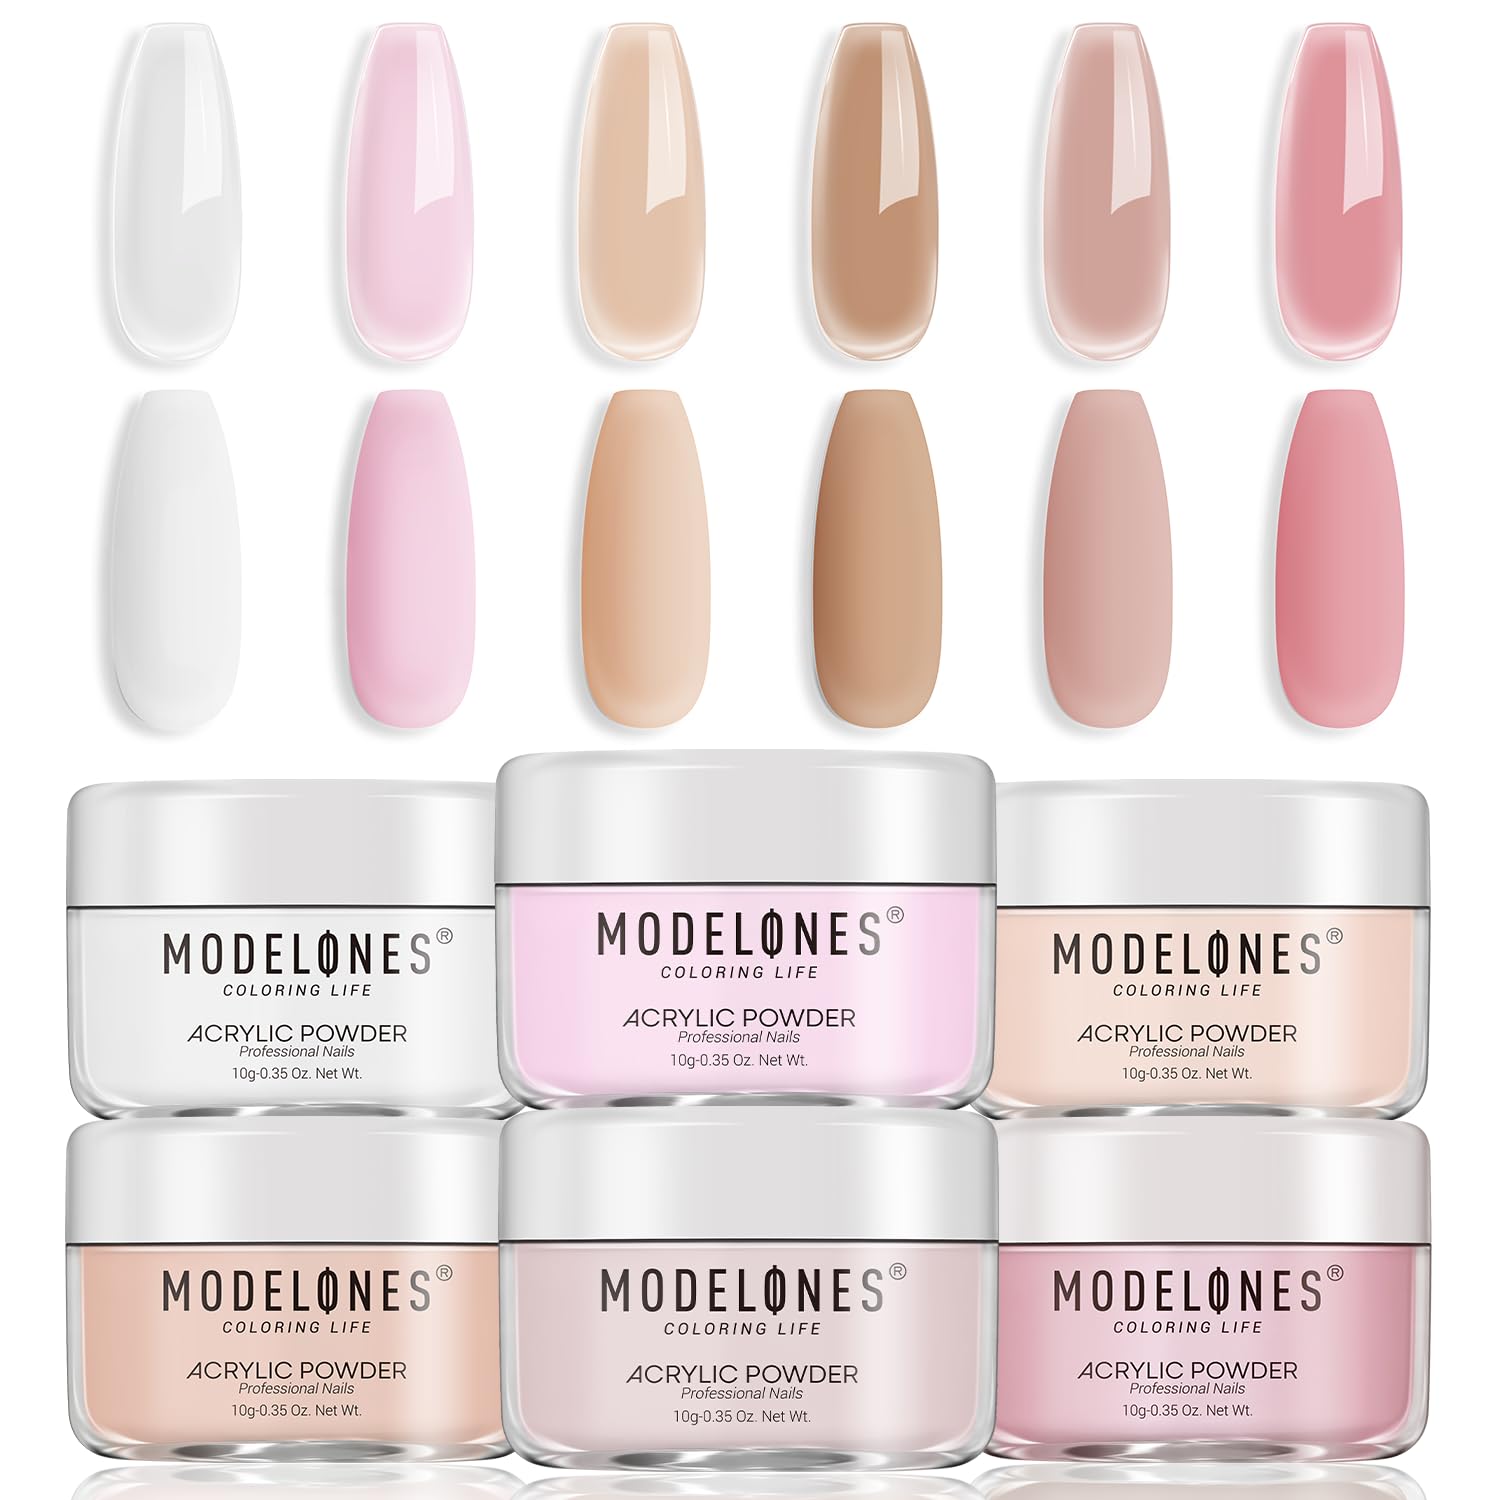
- Acrylic powder or hard gel – For strengthening the nails (optional)
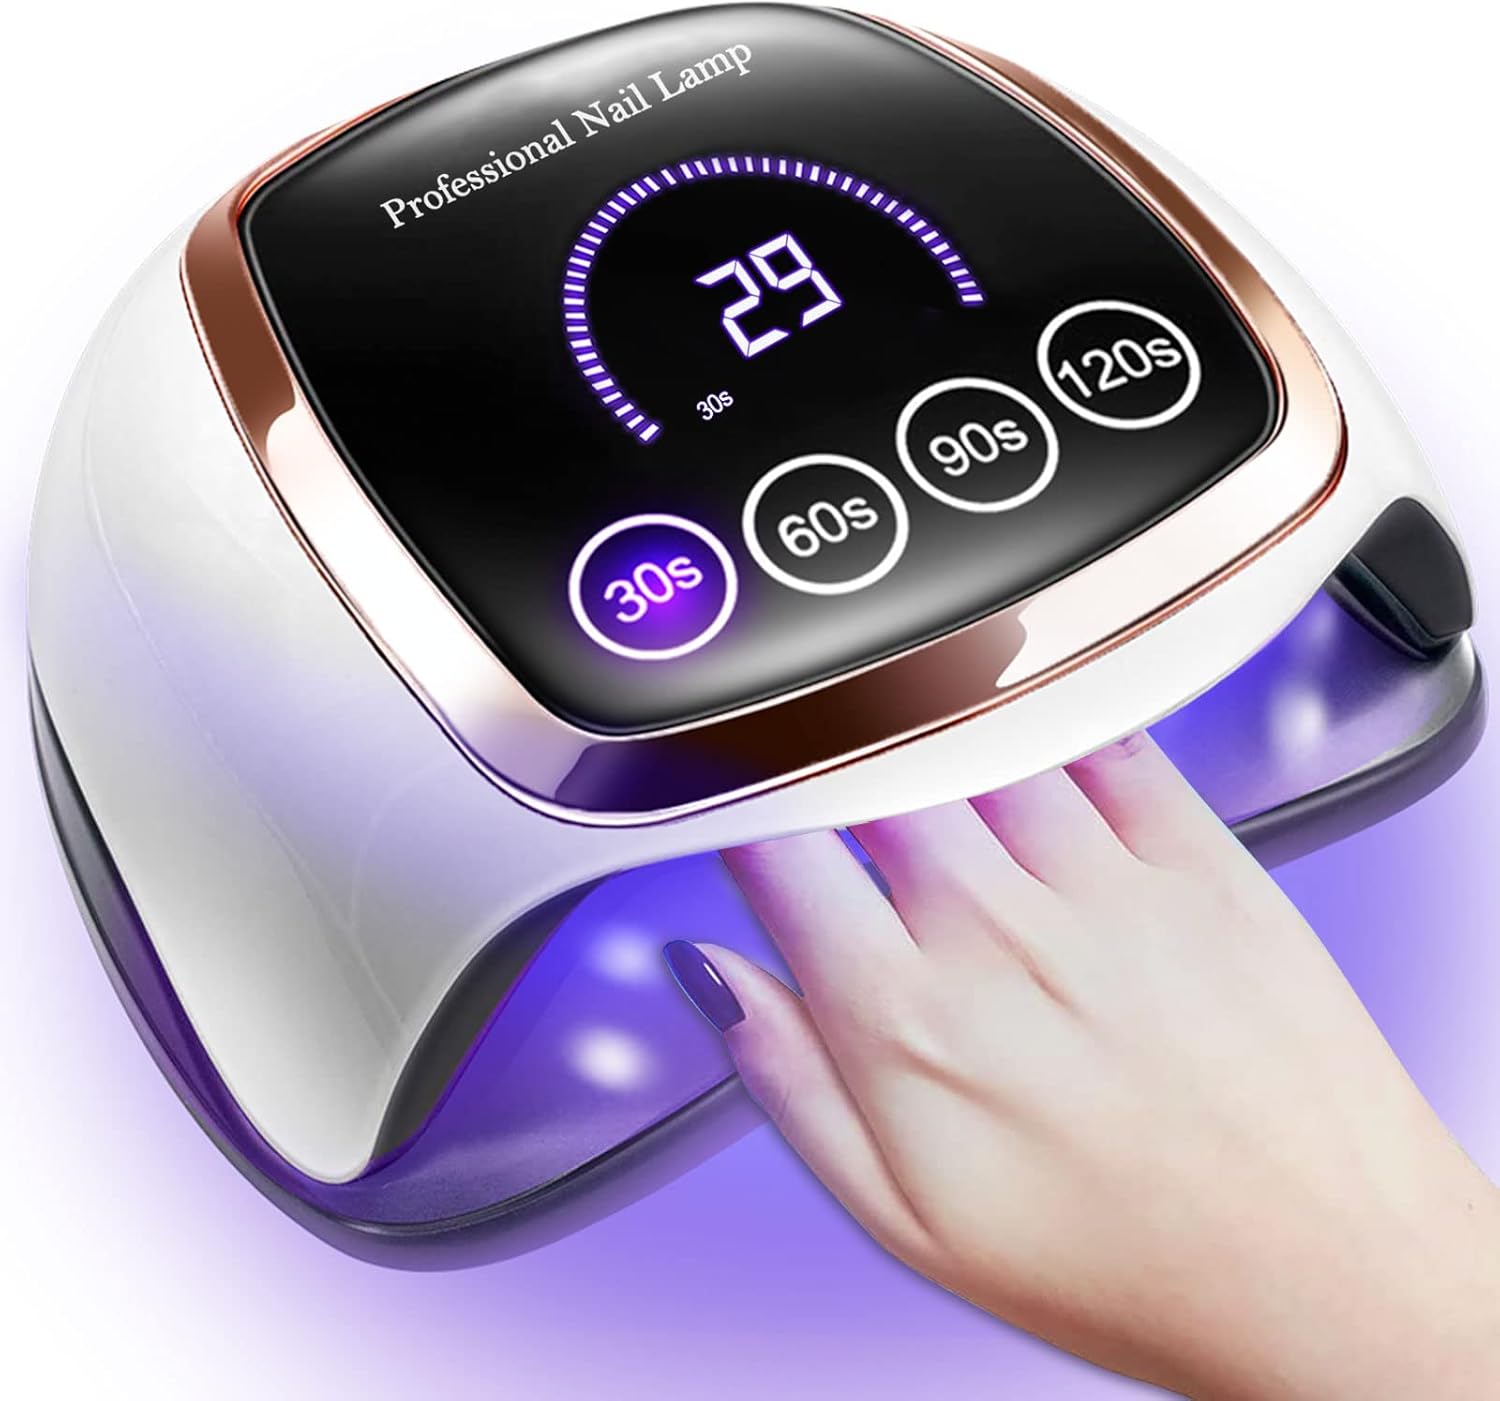
- UV/LED lamp – For curing gel polish and building layers
- Dehydrator and primer – For better product adhesion (optional but recommended)
- Sanitizing solution – For sterilizing tools
- Towel and puff pad – For creating a stable and clean workspace
- Large cup of tea (or beverage of choice) – Because this will take time
Preparation
Start by setting up a comfortable and stable workspace. Some prefer sitting on the floor for long sessions, as it allows for frequent position changes. If you’re using a table, ensure it’s sturdy and well-lit. Lay a towel over your working area to collect dust and debris.
Sterilizing your tools is critical. Boil your nail bits or use a sterilizer to prevent infections. This step is non-negotiable, especially when using tools close to your skin.
Step 1: Removing Old Product
Begin by removing any existing gel polish or product on your nails using your Beurer nail drill. I usually use the felt or sapphire cone attachment since it’s the most gentle one, so you won’t risk lifting too much of the product at once.
Tip: Go slow if you’re new to E-files. Pressing too hard can damage your natural nail plate.
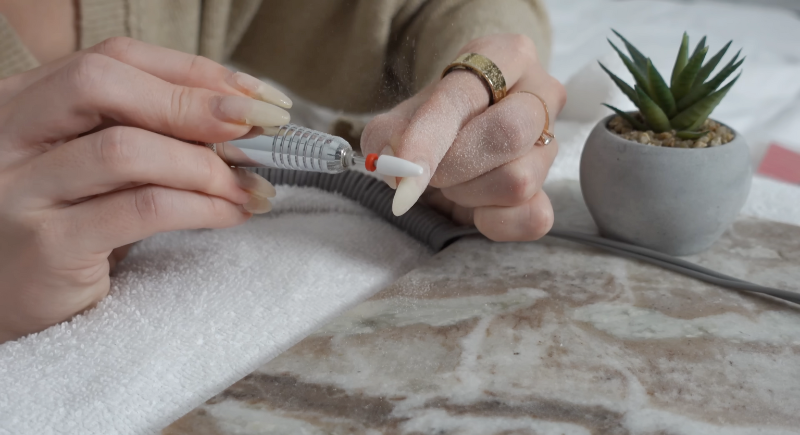
Expect a bit of dust to fly around—this is where the dust shield that comes with the Beurer drill would come in handy, though a towel can work in a pinch. If you’re caught off guard by how quickly the bit removes product, take breaks to regain confidence.
Step 2: Cuticle Care
The hallmark of a Russian manicure is its detailed cuticle work. This part requires precision and patience.
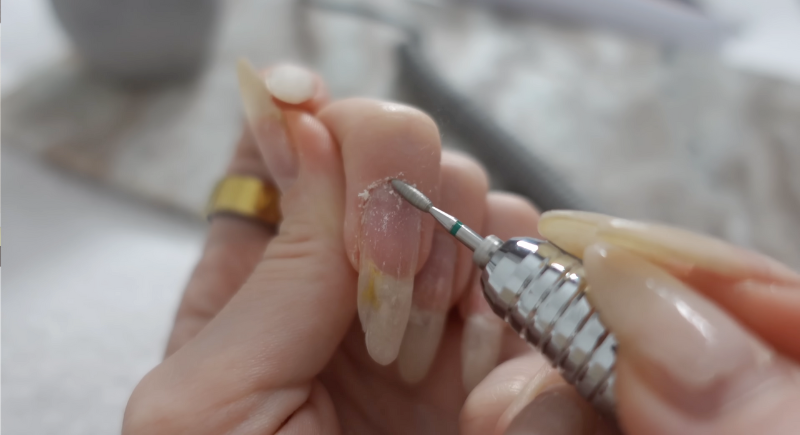
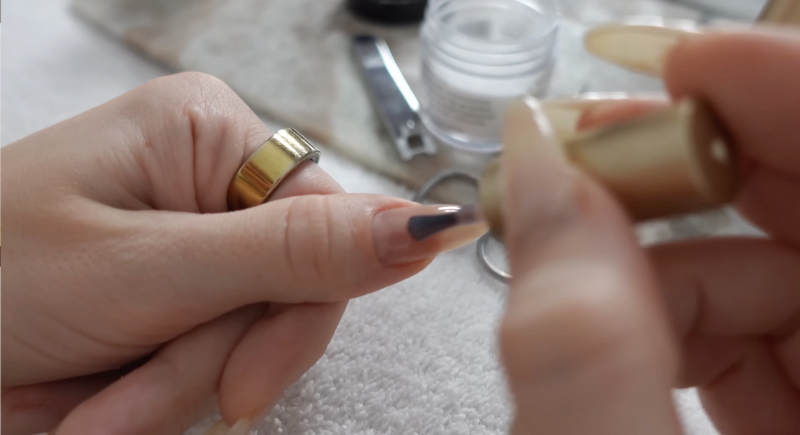
First, use an orange stick to push back the cuticle gently, creating a hollow “pocket” to expose more nail. Don’t push back too much, though, as it would leave excess skin that could cause infection if filed too much.
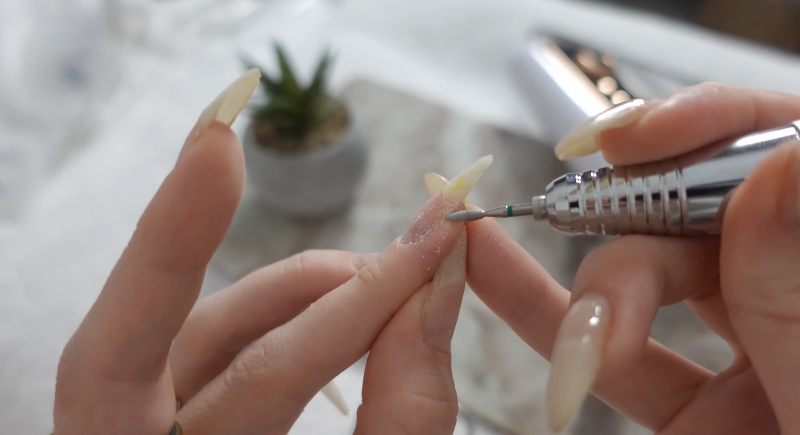
Now, with the flame-shaped cutting attachment on the nail drill, carefully clean around the pocket, removing dead skin without applying too much pressure. Don’t force the drill under the skin you just loosened up with the orange stick. Simply go over it with as little pressure as possible to remove the cuticle safely without causing any injury to the skin around the nail.
Now, carefully trim any remaining cuticle skin using scissors or nippers. Avoid cutting too deep to prevent discomfort or damage. If you have dead skin around the sides of your nails, now would be a good time to go over it with the same attachment.
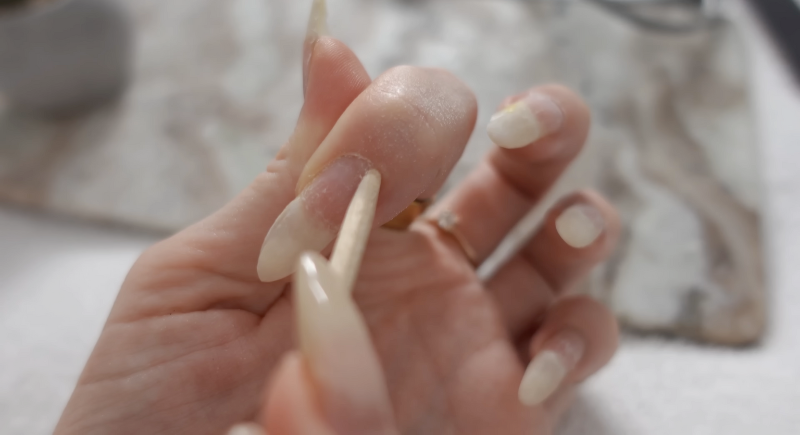
This process might look intimidating, but it’s surprisingly painless when done correctly. The goal is to achieve a clean, smooth nail plate without harming the skin.
Step 3: Shaping and Buffing
Shape your nails using a 180-grit nail file. Follow the natural curve of your nails or create a desired shape like almond or square. After shaping, use a buffer to smooth out any rough edges on the nail surface. Wash your hands thoroughly after the cuticle and filing work, applying some cuticle oil to your cuticles and wiping away the excess.
Note: If your nails tend to break or are naturally thin, this step is crucial for preparing them to hold additional layers of strengtheners or polish.
Step 4: Strengthening the Nails
For natural nails, applying a strengthening layer is optional but highly recommended if you’re prone to breakage.
- Apply a thin base coat and cure it under the UV lamp.
- Dip the nail into acrylic powder or brush on hard gel, then cure.
- Repeat the process for 3–4 layers to build a sturdy structure.
- File the surface lightly to refine the shape after the final cure.
This step adds durability and helps your nails maintain a polished appearance for longer.
Step 5: Applying Gel Polish
- Use a dehydrator and primer if you want maximum longevity for your manicure.
- Apply a thin layer of base coat, making sure to cap the edges to prevent lifting.
- Cure under the UV lamp for 30–60 seconds.
- Apply two thin layers of your chosen gel polish color, curing each layer.
- Finish with a topcoat, curing once more to seal everything in.
When applying gel polish, aim for precision near the cuticle without flooding it. This creates a salon-like finish and extends the wear time.
Final Touches
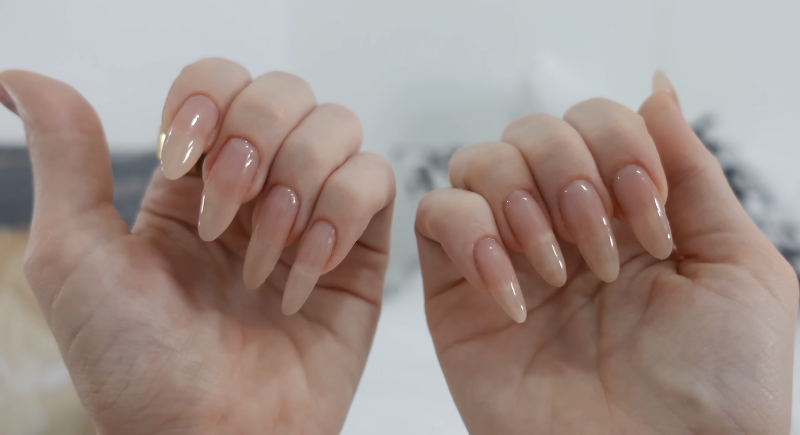
After curing the topcoat, wash your hands to remove any dust or residue. The moment you rinse away the debris is when the manicure truly starts to shine. For an extra polished look, apply cuticle oil and massage it in.
Elevating the Shopping Game
Our platform offers in-depth reviews and analyses across various product categories, empowering you to shop with confidence and precision. Here, transparency and detailed research pave the way for smart choices that reflect your needs and values. Join our community and elevate your shopping experience from buyer to expert, one report at a time.