I Have Dry Skin and I Dermaplane Regularly. Here’s How It Has Helped Me

Dermaplaning has quickly become a staple in my skincare routine, and I’m here to share the hows and whys, drawing from my experiences and the added wisdom of some skincare pros. So, let’s get into how regular dermaplaning has reshaped my skincare game, offering smoother skin and more.
What Is Dermaplaning?
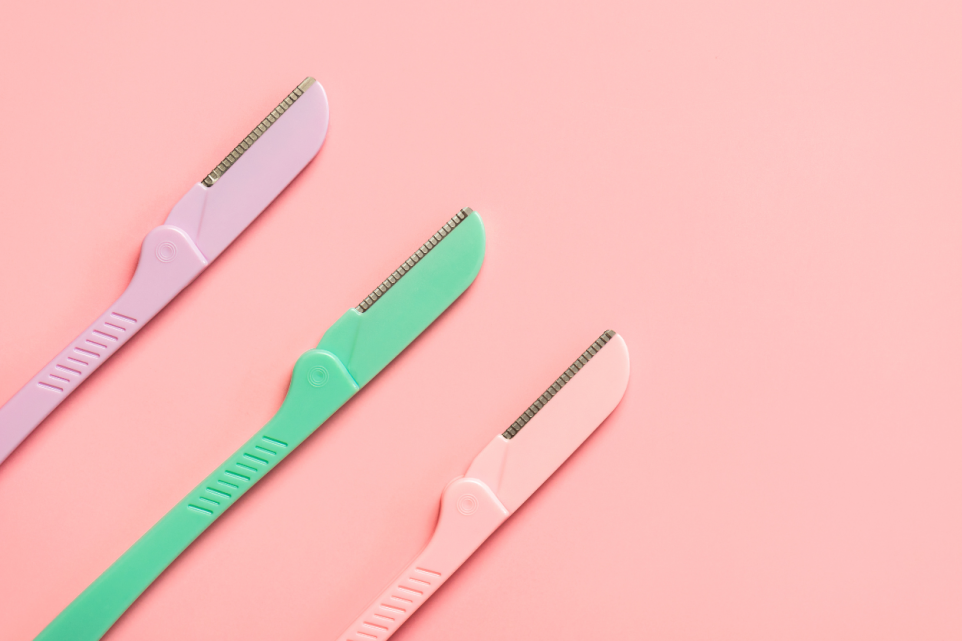
First things first, dermaplaning isn’t just about getting rid of that peach fuzz—it’s a full-on exfoliation hero that can brighten up your face like a pro spa treatment. Using a special dermaplaning razor, you gently scrape off the dead skin and fine hairs. This not only gives you a baby-smooth finish but also makes your skincare products work better because they don’t have to fight through layers of dead skin.
When it comes to doing it at home, you’ve got options depending on your skin type: dry dermaplaning, wet dermaplaning with a gel for easier gliding, or oilplaning, which involves a nourishing oil for an extra hydration boost.
Prepping Your Skin for Dermaplaning

No matter which method you choose, proper skin prep is key. For dry dermaplaning, start with a thorough cleanse to remove any makeup or grime, ensuring your skin is squeaky clean. After drying your face gently, you’re ready to start. This method works wonders for me as it feels more controlled and precise, especially around the more delicate areas of my face.
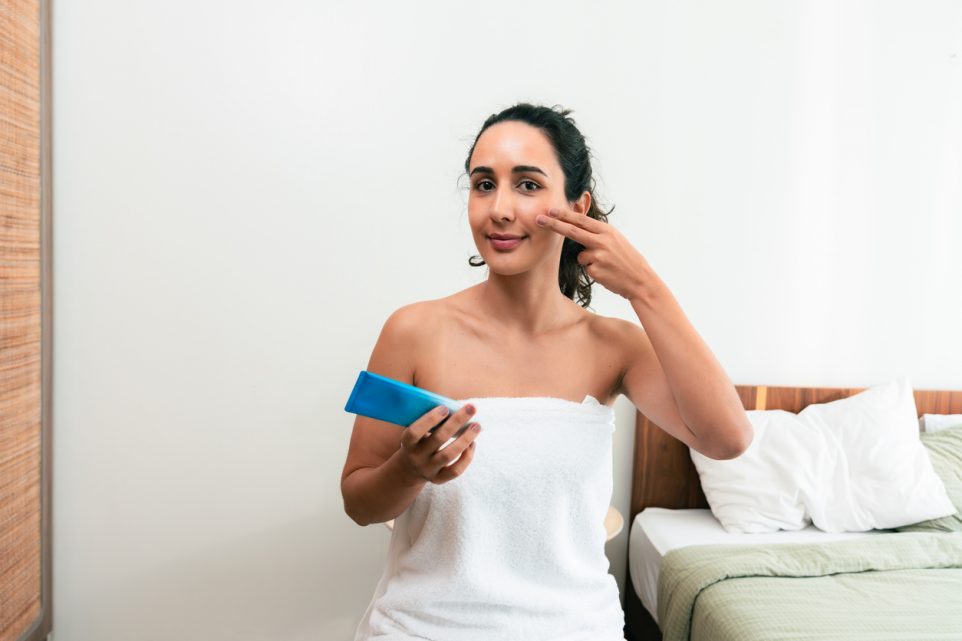
If you have sensitive skin, wet dermaplaning might be your go-to. After cleansing, apply a hydrating gel that creates a smooth barrier, making the razor glide effortlessly and minimizing any irritation. It’s a soothing ritual that turns a regular skincare routine into a spa-like experience.
And then there’s oilplaning—a personal favorite of mine for when my skin feels parched. Slathering on a lightweight facial oil pre-dermaplaning not only protects the skin but also leaves it incredibly soft and glowing afterward. This method is especially great during those dry winter months or whenever your skin needs a major pick-me-up.
How I Oilplane at Home
Starting with a clean slate is crucial. After thoroughly removing any makeup, I cleanse my skin with a gentle, non-stripping cleanser to ensure there are no oils, dirt, or makeup residues left. This sets the stage for a clean and effective session.
Next, I select the right oil for the job. My go-to oils are squalene, argan, and jojoba because of their excellent compatibility with my skin type. They are non-comedogenic, meaning they don’t clog pores, and they provide just the right amount of slip to help the blade glide smoothly without tugging. I apply a generous layer of oil, making sure every part of the area I plan to dermaplane is well-coated. This step not only helps in providing a barrier between the blade and the skin but also adds an extra dose of hydration.
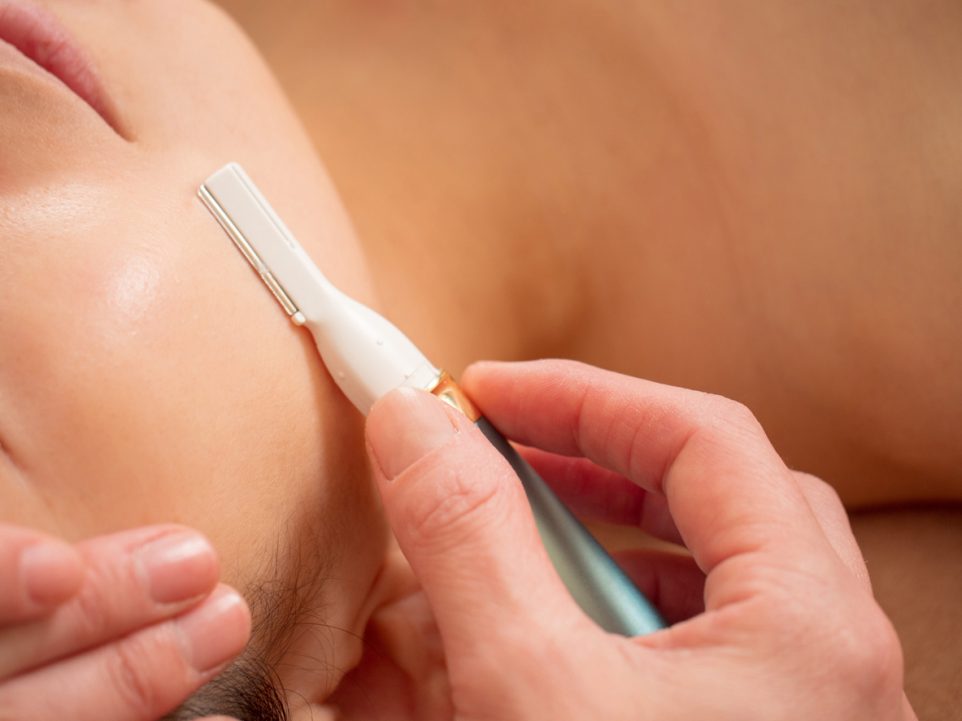
Now, with the skin prepared and the oil in place, I start the dermaplaning process. Pulling the skin taut with one hand, I use the dermaplaning blade in the other to make short, gentle, downward strokes. I’m always careful to move the blade in the direction of hair growth to avoid irritation and ensure smooth removal of vellus hairs and dead skin cells. Holding the blade at a 45-degree angle, as recommended by skin experts, allows for precision and minimizes the risk of nicks.
Using the right tools is key to a successful oilplaning session. I use dermaplaning razors that are gentle on the skin while being effective at removing fine hairs. Make sure that the razor you choose is equipped with high-quality blades and fine microguards that help protect sensitive skin.
Aftercare

Post-dermaplaning, I stick to a minimalist skincare routine. This involves using a gentle cleanser followed by a hydrating serum or a soothing face oil to replenish moisture and nourish the skin deeply.
An absolute must in my daily regimen is sunscreen, especially after exfoliating treatments like dermaplaning. I opt for a broad-spectrum sunscreen with a high SPF to protect my vulnerable skin from sun damage. It’s important to avoid direct sunlight as much as possible because the fresh, sensitive skin is more prone to irritation and can easily become red or swollen if exposed.
Certain ingredients are a no-go for me in the week following dermaplaning. These include retinol and glycolic acid, which are typically in my nighttime skincare routine but can be too harsh on freshly exfoliated skin, causing dryness and irritation.
Lastly, the tools and techniques I use for cleansing are just as important as the products. Harsh or abrasive cleansers are replaced with milder, soothing options. And instead of using a washcloth or scrub brush, which can be too rough, I use my hands. This ensures that my skin isn’t subjected to any unnecessary stress and can recover smoothly.
Elevating the Shopping Game
Our platform offers in-depth reviews and analyses across various product categories, empowering you to shop with confidence and precision. Here, transparency and detailed research pave the way for smart choices that reflect your needs and values. Join our community and elevate your shopping experience from buyer to expert, one report at a time.