How to Apply Highlighter for a Natural Glow

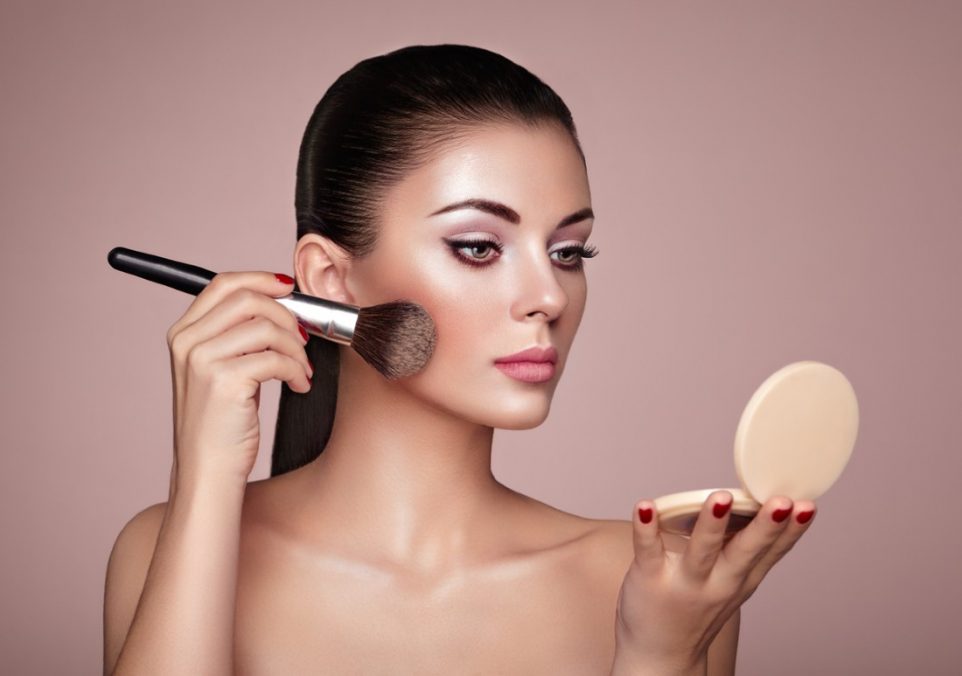
Highlighter is one of those makeup products that can truly make your look come alive, adding that perfect glow to the high points of your face. But knowing where to place it and which brushes to use? That’s where things get a little tricky. It’s not just about dabbing some shimmer on your cheekbones and calling it a day. The art of highlighting is all about subtlety, blending, and using the right tools in the right places to enhance your natural features.
When I first started experimenting with highlighter, I’ll admit, it felt like a lot. Should it go on my nose? My forehead? How much is too much? And don’t even get me started on the brushes—there are so many options that it’s easy to get overwhelmed. Over time, though, I learned that less is more, and finding the right tools can make all the difference in achieving that radiant, lit-from-within glow without looking like a disco ball.
The Order of Makeup Application
One thing that can throw people off is the order in which they apply their makeup. There’s no one-size-fits-all approach, but there are some general guidelines that can help ensure everything blends seamlessly.
Start with your primer and foundation. This creates a smooth, even base for the rest of your makeup. Next, apply your concealer—under the eyes, around the nose, or anywhere else you want to brighten or conceal. Blend it out, making sure everything is seamless.
Now’s the time to set everything with a light dusting of setting powder. This step helps lock in your foundation and concealer, so they don’t move around or get shiny throughout the day. If you’re going for a dewy look, just use powder in the areas where you tend to get oily, like the T-zone.
After setting, you can move on to bronzer and blush. Bronzer adds warmth and dimension to the face, while blush gives a healthy flush. These products are applied before highlighter because you want to create that contoured base before you add the glow.
Finally, it’s time for highlighter. By applying it last, you can strategically place it on top of your other makeup to enhance your bone structure without it getting lost under layers of powder.
Where to Place Highlighter for the Best Glow
Knowing where to place your highlighter is the key to getting that natural glow. It’s all about hitting the high points of your face, where the light naturally reflects. The goal is to enhance your bone structure and give your skin that dewy, healthy look.
Start with the cheekbones, which is probably the most popular spot for highlighter. You want to apply it to the highest part of your cheekbone, right above your blush, but avoid going too close to your eyes, as that can emphasize fine lines or texture. Lightly sweep your highlighter in an upward motion to create that lifted effect.
Next is the bridge of your nose. A soft line of highlighter down the center of your nose can give it a subtle, more defined look. But be careful not to overdo it—too much shine here can make your nose look oily rather than glowy. A little tap of highlighter on the tip of your nose is also a nice touch, but again, subtlety is key.
Then, there’s the brow bone. Applying a touch of highlighter just under the arch of your brows helps open up the eyes and make them appear more lifted. This is especially great for days when you want a little extra definition without going overboard on eyeshadow.
Finally, don’t forget the cupid’s bow—that little dip at the top of your lips. A small dab of highlighter here can make your lips look fuller and more defined, giving your pout that extra pop.
The Right Brush Makes All the Difference

Choosing the right brush for highlighter is just as important as knowing where to apply it. Different brushes give different effects, so it’s good to have a few options depending on the look you’re going for.
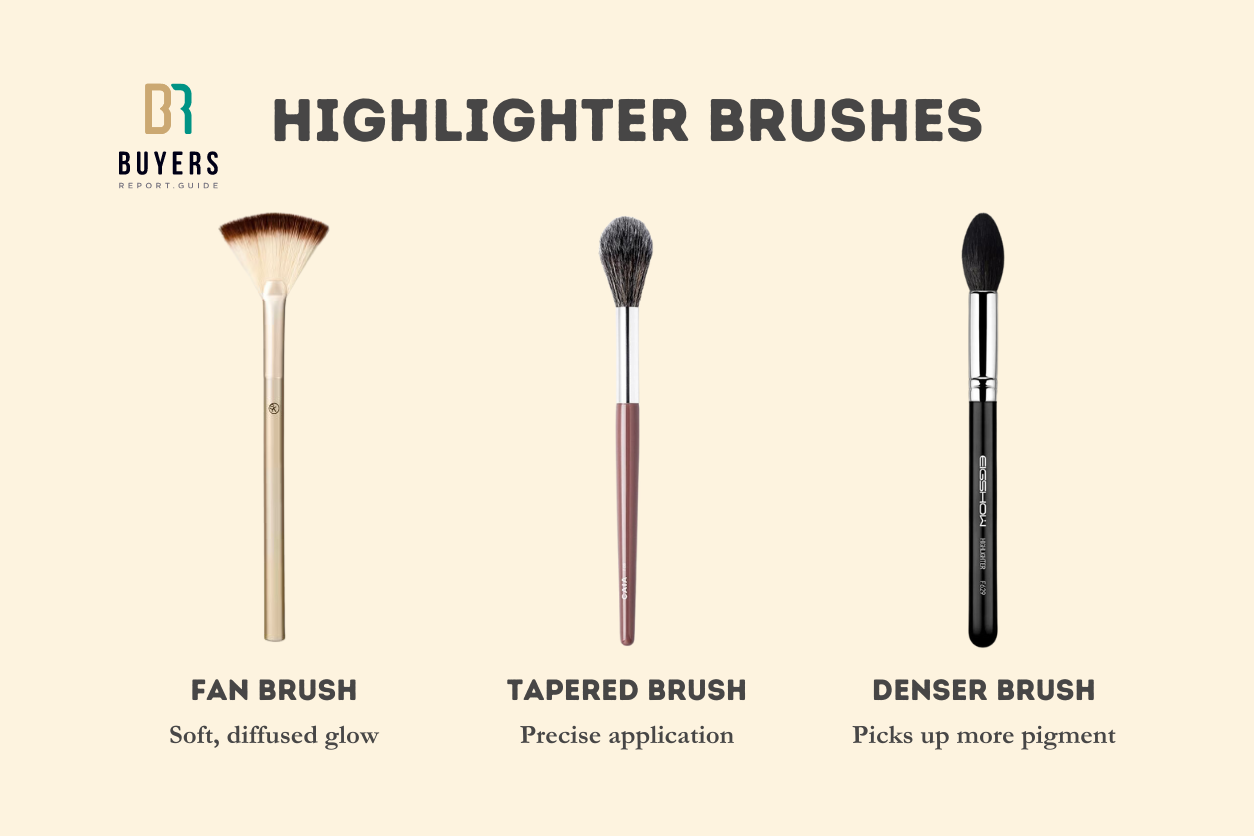
For a soft, diffused glow, a fan brush is your go-to. The light, feathery bristles pick up just the right amount of product and help you apply it with a light hand. It’s perfect for sweeping highlighter across larger areas like the cheekbones and forehead without overloading your skin with shimmer.
If you want a more targeted application, especially for areas like the nose or cupid’s bow, a small tapered brush is ideal. These brushes have a pointed tip that allows you to apply highlighter with precision, giving you control over exactly where the product goes. The Morphe M501 is a great option for this—it’s small, soft, and perfect for detailed work.
Finally, for those times when you want your highlighter to really pop, a denser brush like the Real Techniques Setting Brush can help pack on a bit more pigment. Just be cautious—this type of brush picks up a lot of product, so be sure to tap off any excess before applying to avoid looking too shiny.
Different Looks Call for Different Techniques
One thing to keep in mind with highlighter is that the application can change depending on the type of look you’re going for. For an everyday, natural glow, stick to the high points of your face—cheekbones, brow bone, and cupid’s bow—with a light hand.
For a more dramatic evening look, you can add highlighter to areas like the center of your forehead and chin. Just remember to blend well, so the highlight doesn’t look too stark or out of place.
Highlighter is also perfect for no-makeup makeup looks, where you want your skin to look fresh and radiant without too much effort. A fan brush or a small tapered brush can give you that barely-there glow that enhances your natural beauty without looking like you’re wearing a lot of makeup.
Elevating the Shopping Game
Our platform offers in-depth reviews and analyses across various product categories, empowering you to shop with confidence and precision. Here, transparency and detailed research pave the way for smart choices that reflect your needs and values. Join our community and elevate your shopping experience from buyer to expert, one report at a time.