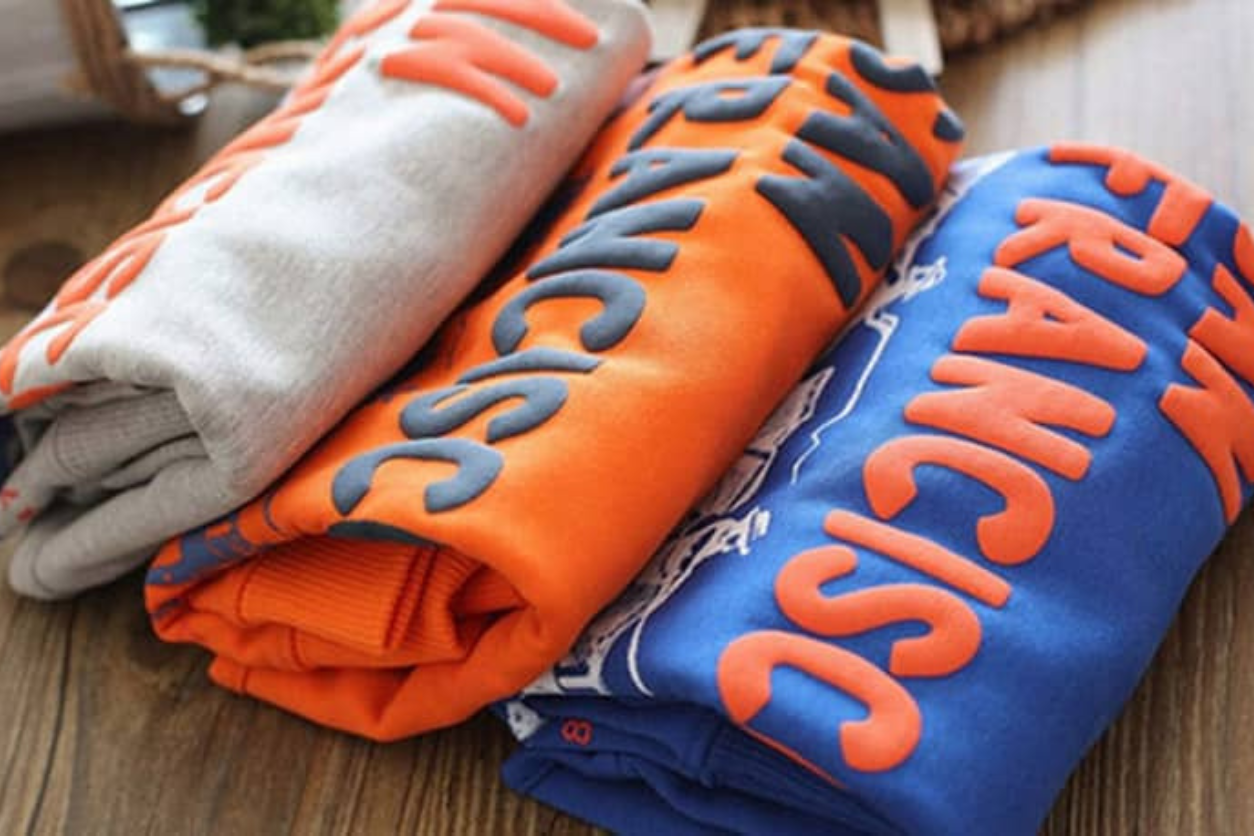
How To Make a Puff Print Hoodie

Creating custom hoodies has always been a fun and creative outlet for me. I remember the thrill of transforming a plain, boring hoodie into something unique and stylish, reflecting my personal flair. It’s a great way to stand out and add a personal touch to your wardrobe. Plus, there’s something incredibly satisfying about wearing something you made with your own hands. But it doesn’t stop at just making one for yourself. Custom hoodies can also be a fantastic business opportunity. Whether you’re looking to start a small merch line or create gifts for friends and family, the possibilities are endless. A puff print hoodie, in particular, adds a fun, textured dimension that really makes your designs pop.
Setting Up Your Design in Cricut Design Space

The first step in creating your puff print hoodie is to set up your design in Cricut Design Space. Open the software and create a new project. Start by selecting the text tool and typing out your design. For this project, I chose the font “Old London” for its bold, eye-catching look. Once you’ve typed out your text, adjust the letter spacing to your preference. I found that reducing the letter space slightly creates a more cohesive look.
Next, size your design to fit your hoodie. I usually go with a width of about 15 inches, which fits well on most adult hoodies. If you’re using the free version of Cricut Design Space, you might need to use the curve tool and manually adjust your design, especially if you’re aiming for a specific arch or alignment. Unlock the design proportions to stretch or shrink as needed to get the perfect fit.
After you’re happy with your design, make sure to mirror the image before sending it to your vinyl cutter. This step is crucial for heat transfer vinyl, as it ensures your design will be correctly oriented once transferred. If your design exceeds the standard mat size, you can use a 12×24 mat or tape two 12×12 mats together. Connect your Cricut machine via Bluetooth or USB, and you’re ready to cut.
Cutting the Vinyl with Cricut Explore Air 2

With your design ready to go, it’s time to cut the vinyl. I’ve been using the Cricut Explore Air 2 for a few years, and it’s been a reliable choice for my projects. Load your puff heat transfer vinyl onto the mat, making sure the rubbery side is facing up. The plasticky side should be against the mat. Set your machine to the “Iron-On Plus” setting, which works well for puff vinyl.
Before you start cutting, it’s a good idea to check your needle. A dull needle can affect the quality of the cut, so replace it if necessary. Also, do a small test cut to make sure your settings are correct. This step can save you a lot of frustration down the line. Once everything is set, hit the flashing button on your Cricut and let it work its magic.
Weeding and Preparing for Heat Press

After your design is cut, it’s time to weed the excess vinyl. This part can be a bit tedious, but it’s essential for a clean final product. Carefully remove the parts of the vinyl that you don’t want to transfer to your hoodie, leaving only your design on the clear carrier sheet.
Now that your design is weeded, it’s ready for the heat press. Preheat your heat press to between 280°F and 300°F. I prefer starting at the lower end of this range and gradually increasing the temperature if needed. This helps prevent overcooking the vinyl, which can affect the puff effect.
Applying the Puff Vinyl with a Heat Press

Position your hoodie on the heat press, making sure it’s flat and free of wrinkles. Pre-press the garment for a few seconds to remove any moisture and create a smooth surface for your vinyl. Place your weeded design on the hoodie, making sure it’s centered and aligned.
For the pressure setting, I recommend using medium pressure. Lock the press in place and press your design for about 6 to 8 seconds. After the initial press, check the results. If the vinyl hasn’t puffed up as desired, you can increase the temperature slightly and press again. This trial-and-error process helps you find the perfect settings for your specific vinyl and equipment.
Troubleshooting
Getting the perfect puff print can take a bit of practice. Here are a few tips to help you along the way:
- Check Your Vinyl: Make sure you’re using high-quality puff vinyl. Lower-quality vinyl might not give you the results you’re looking for.
- Test Cuts: Always do a test cut before committing to a large project. This can save you from wasting materials.
- Pressure Matters: Make sure your heat press is applying consistent, medium pressure. Too little pressure can result in incomplete adhesion, while too much can flatten the puff effect.
- Even Heating: Ensure your heat press provides even heating across the entire design. Uneven heat can cause parts of your design to puff more than others.
- Small Sections: If you’re working with a large design, consider pressing in small sections to ensure even heat distribution.
Once you’re happy with the puff effect, allow your hoodie to cool before handling. This helps set the vinyl and ensures it adheres properly.
Elevating the Shopping Game
Our platform offers in-depth reviews and analyses across various product categories, empowering you to shop with confidence and precision. Here, transparency and detailed research pave the way for smart choices that reflect your needs and values. Join our community and elevate your shopping experience from buyer to expert, one report at a time.