How To Iron on Cricut Vinyl for Lasting Results
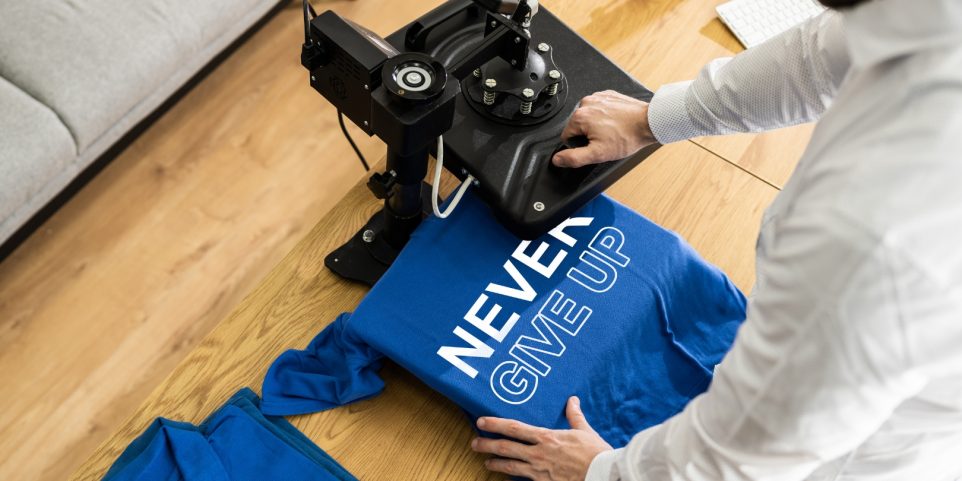
Personalizing your wardrobe with unique designs can transform a plain outfit into a statement piece. So, I’m thrilled to walk you through the steps of using iron-on Cricut vinyl to jazz up your garments, all with the trusty iron you’ve got in your laundry room—no fancy equipment required!
Starting out, you might be wondering why someone would choose iron-on vinyl for their crafting projects. Well, let me tell you, it’s an addicting little hobby. There’s something incredibly satisfying about designing your own tees, tote bags, or even koozies. They make perfect gifts and are great for spicing up your wardrobe or creating personalized items for events and businesses.
Now, let’s not get ahead of ourselves. Working with iron-on vinyl, especially with a basic household iron, does have its tricks and traps. But fear not, I’m here to guide you through each step, ensuring you end up with a result that looks professionally made.
Tools You’ll Need
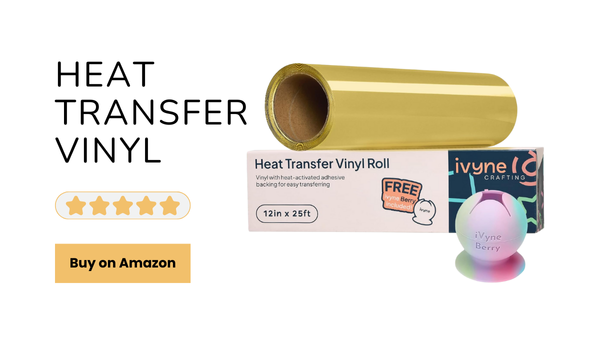
- Heat transfer vinyl
- Brayer
- A pair of scissors
- A spatula
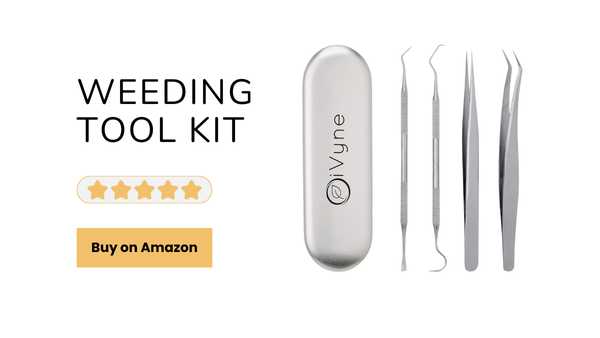
- A weeding tool
- A lindt roller
- Iron
- Parchment paper
How To Iron on Cricut Vinyl
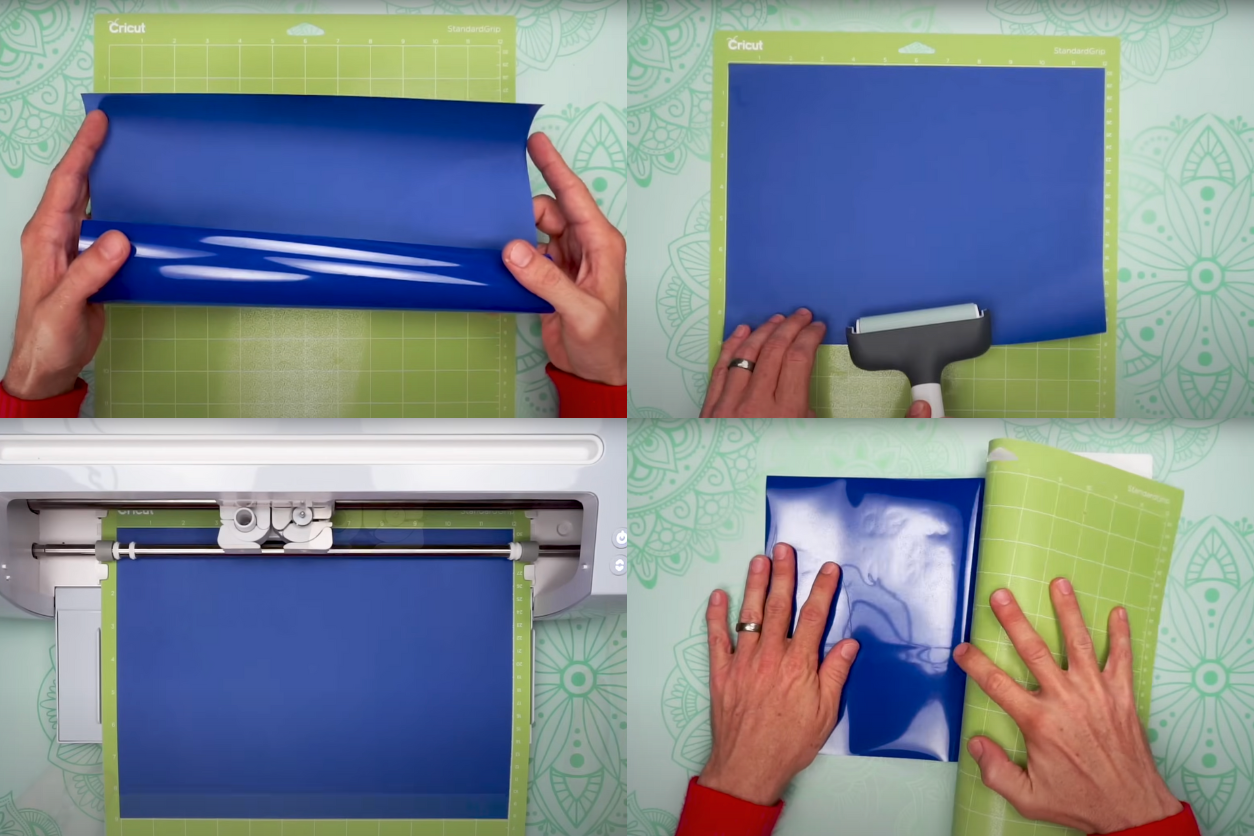
The first step is designing. You can create your own design or find countless options online that suit your style. Once you’ve selected your design, remember to mirror it in your Cricut Design Space before cutting. This ensures that your design appears correctly when transferred onto your fabric.
Load your iron-on vinyl shiny side down onto your Cricut mat. This shiny side is the carrier sheet that will hold your design in place during the transfer. Select the appropriate material settings on your Cricut machine for a clean cut.
Weeding Your Design
After cutting, you’ll weed your design, which means removing the excess vinyl around your design and any inside cuts. This step is crucial for a clean, professional-looking transfer. Use a weeding tool to help lift and remove the small pieces of vinyl.
Preparing Your Fabric
Now, let’s prep your fabric. Iron the fabric to remove any wrinkles, providing a smooth surface for the vinyl. This step is vital for ensuring the vinyl adheres evenly.
Applying the Vinyl
Position your weeded design on the fabric, with the shiny side up (so you can see your design through the carrier sheet). Place a piece of parchment paper over the design to protect your iron and the vinyl.
Set your iron to the “Cotton” setting or follow the heat settings recommended for your specific type of vinyl. Press the iron firmly over the design for about 10-15 seconds for each section of the design, making sure not to move the iron around as this can shift the vinyl.
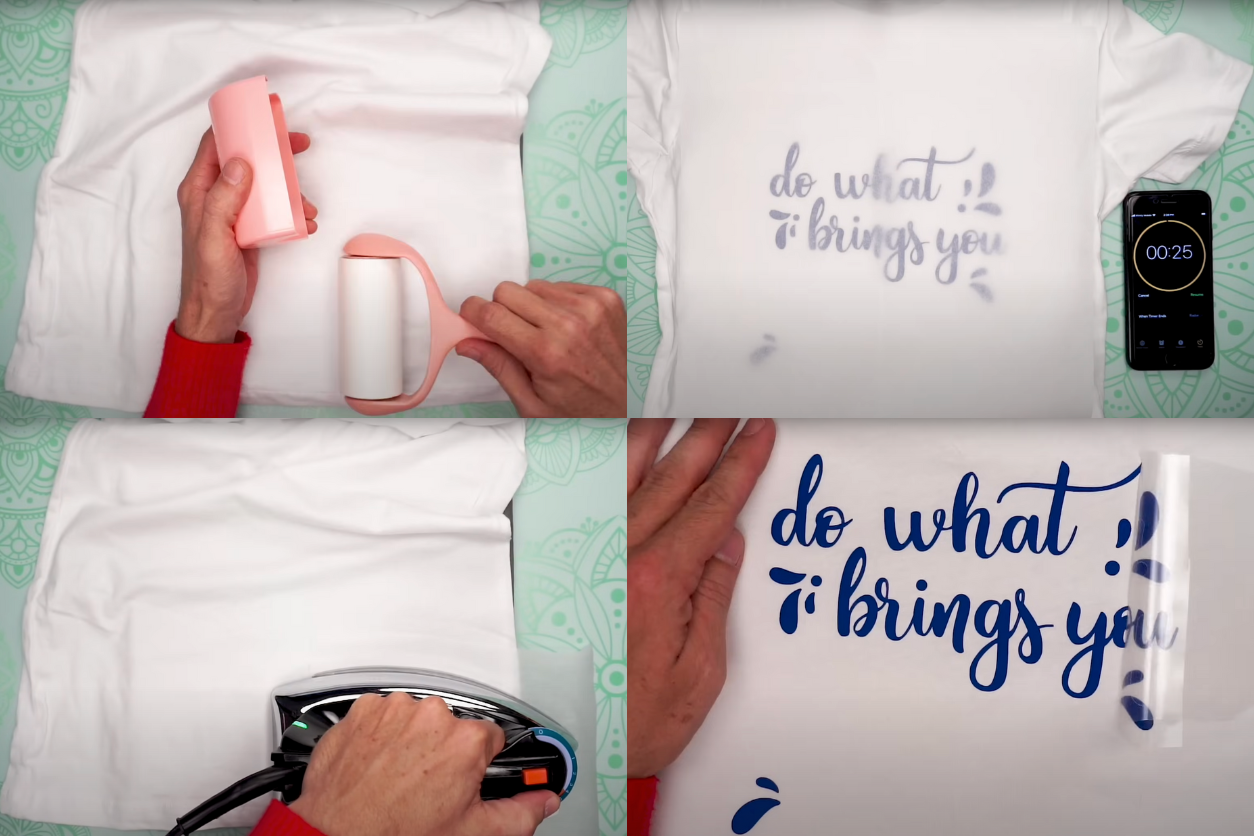
Let the design cool for a moment, then carefully peel off the carrier sheet. If the vinyl hasn’t adhered fully, replace the parchment paper and press again with the iron for a few more seconds.
After Care
Once your design is firmly in place and all cooled down, you’ve got a brand-new personalized item! When it comes to washing, turn the item inside out and wash on a gentle cycle. Avoid tumble drying if possible; instead, let it air dry.
If you encounter issues like the vinyl peeling off after washing, it’s usually a sign that the iron wasn’t hot enough or you didn’t press down long enough during the application. Each type of vinyl can have slightly different heat settings and timing, so don’t be afraid to experiment a bit.
Elevating the Shopping Game
Our platform offers in-depth reviews and analyses across various product categories, empowering you to shop with confidence and precision. Here, transparency and detailed research pave the way for smart choices that reflect your needs and values. Join our community and elevate your shopping experience from buyer to expert, one report at a time.
